Rough Cut (Basic edit of narrative)

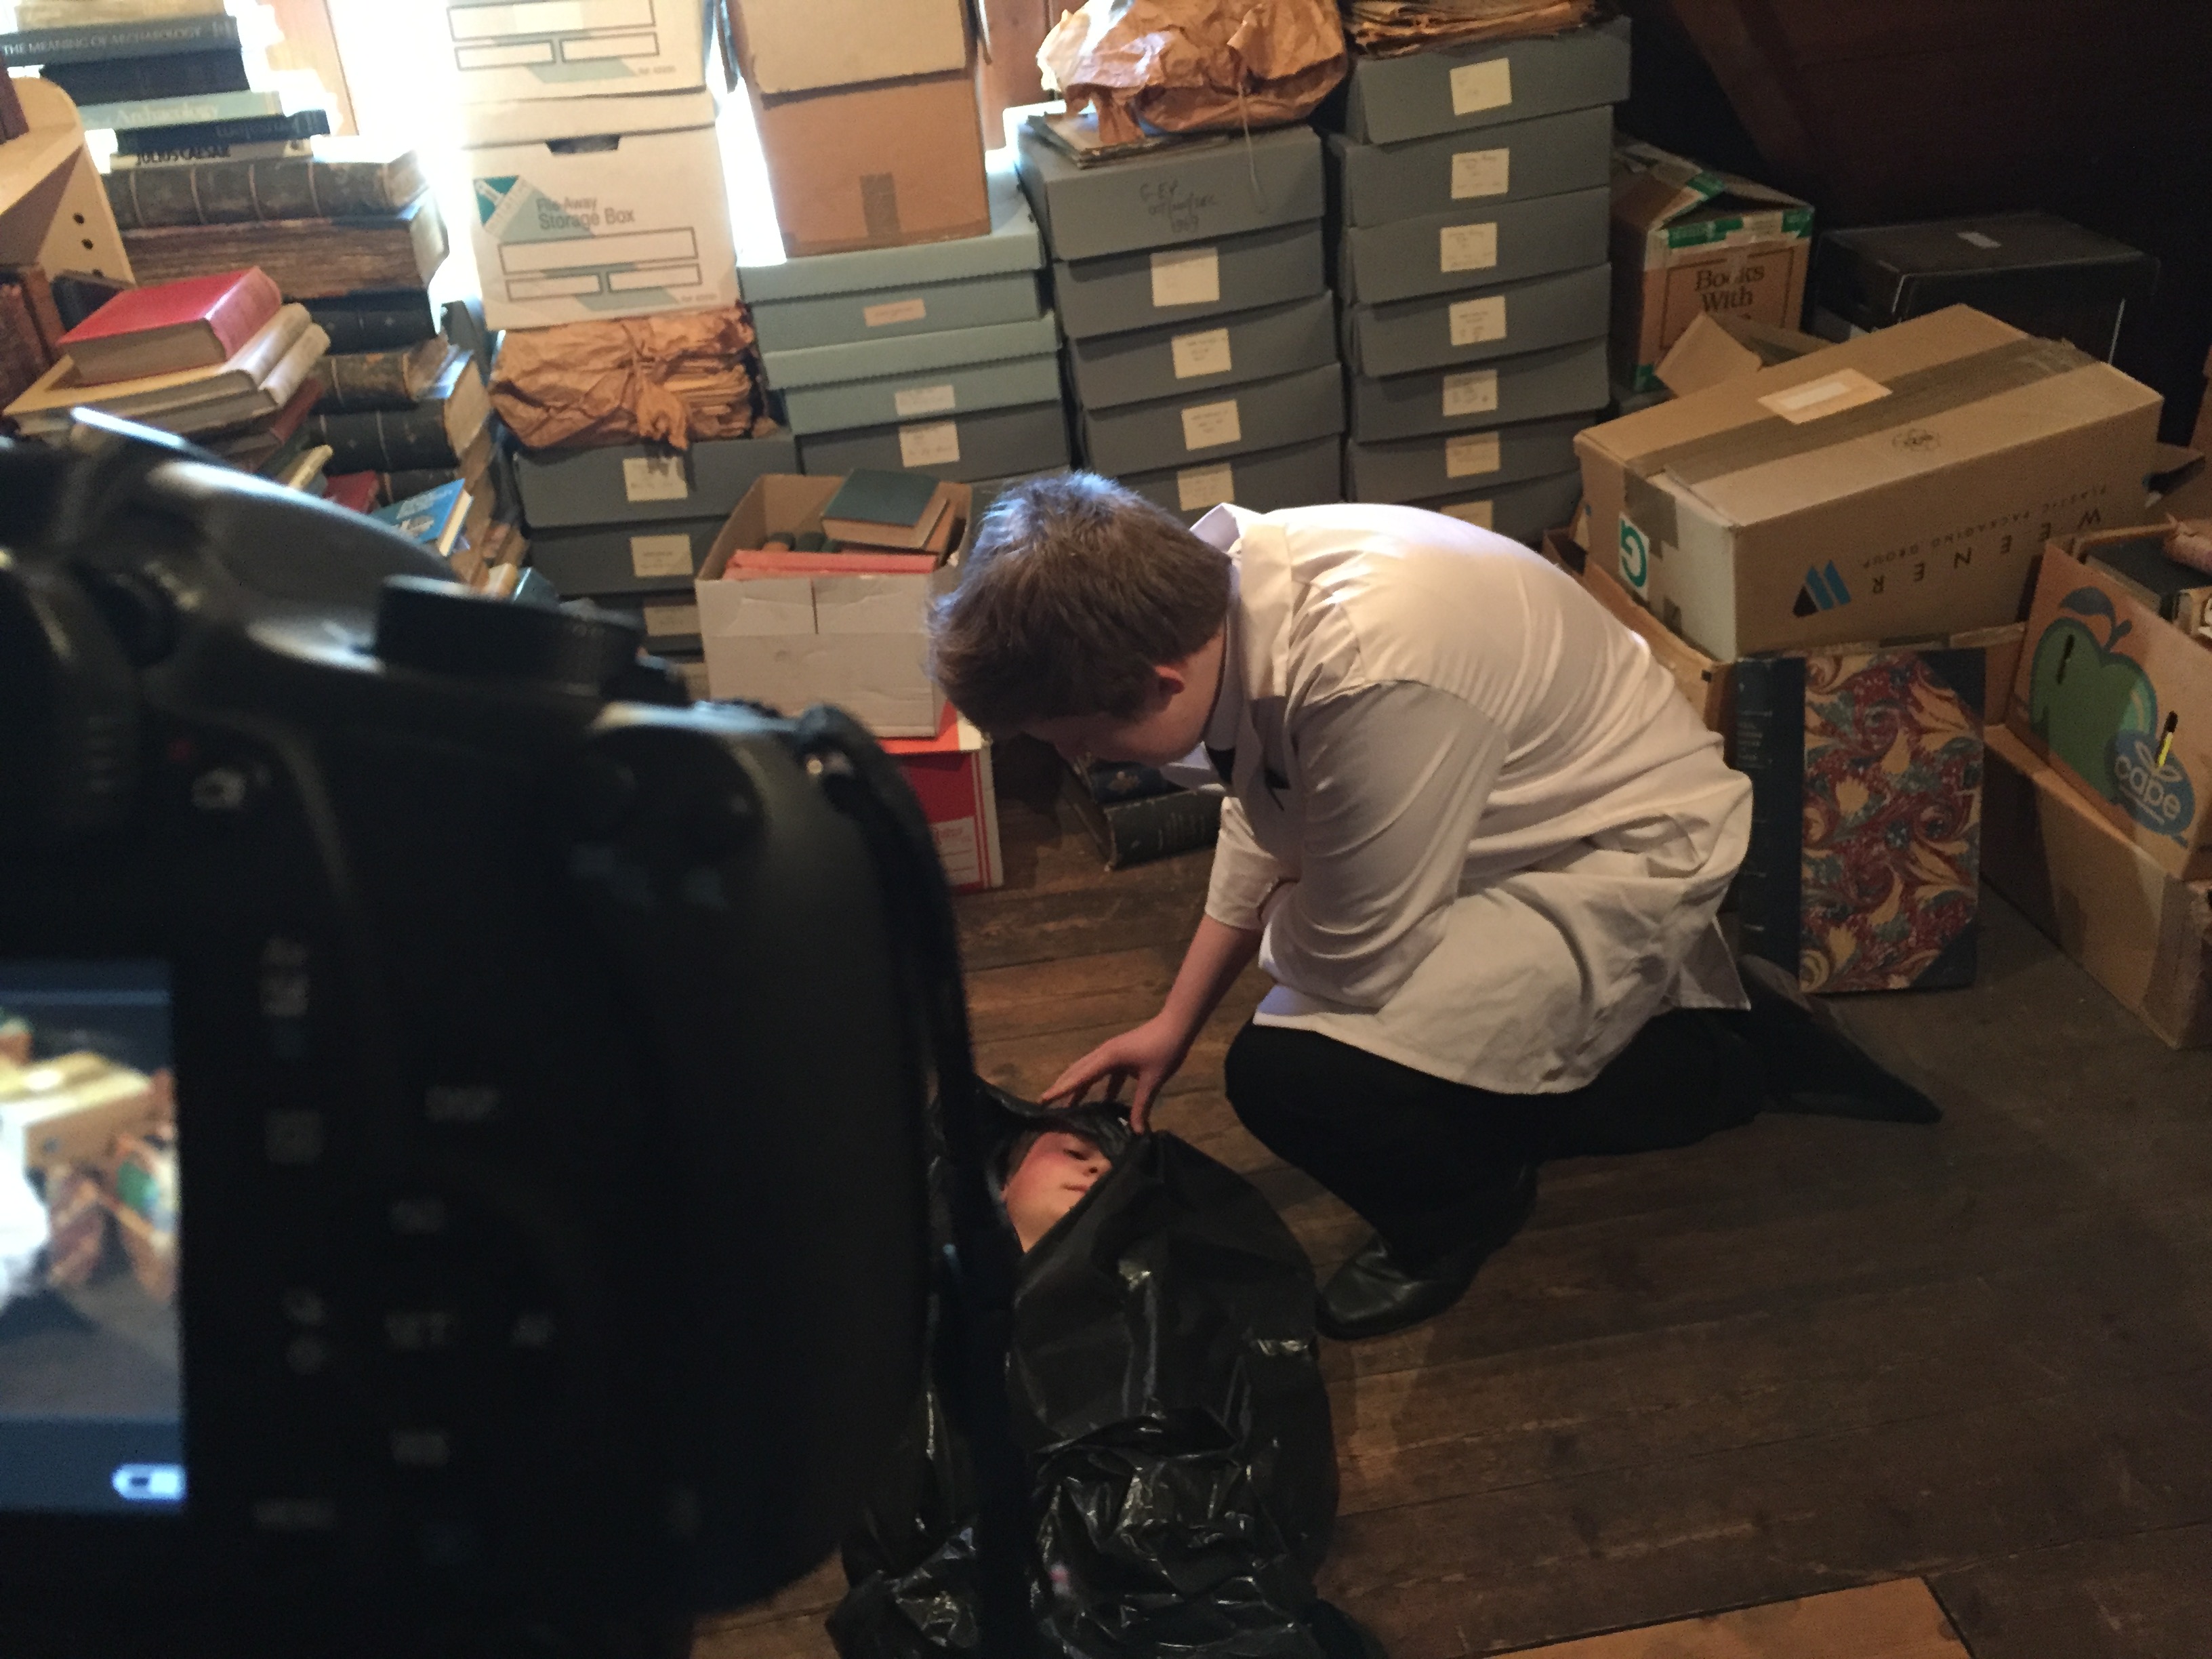
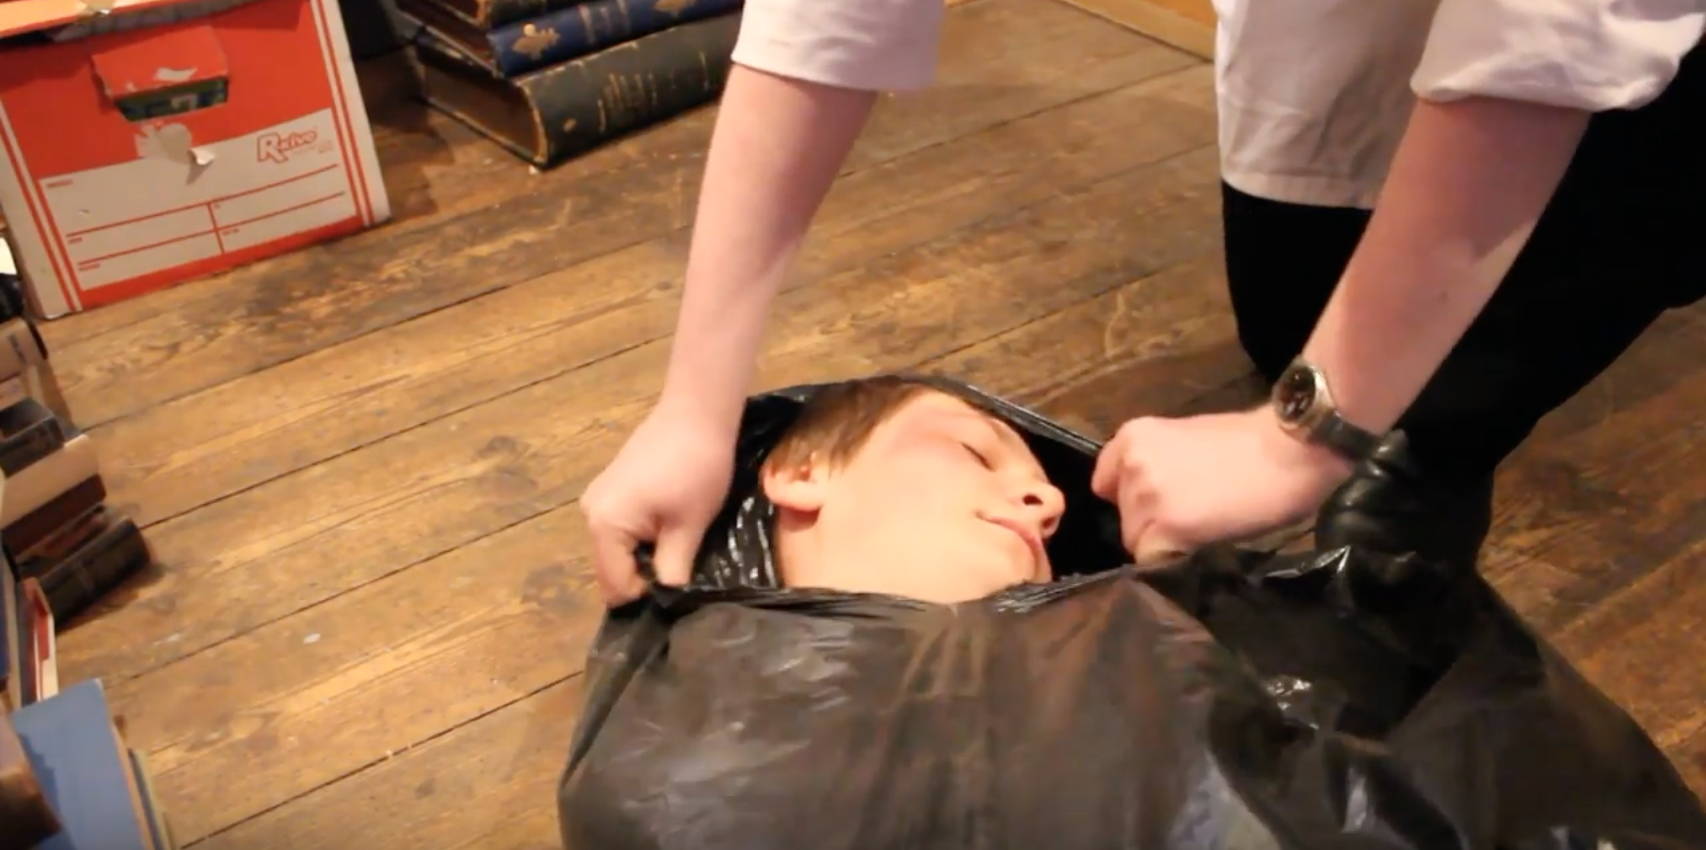
We have now put all of our footage onto the computer. After viewing our footage we then had to create a narrative rough cut, to do that we put together clips with minor editing to create narrative sense and help us decide which clips to edit out in our draft one.

This has helped us to understand where to go next when we go to do fine editing because we know understand how the narrative works.

This is our final rough cut:

To improve when fine editing I need to:

  • Use smoother transitions to help create a clearer narrative sense.
  • Only use the best shots to keep the thriller exciting and intriguing to look at.
  • Add diegetic and non diegetic sounds to add tension and create a overall distinctive atmosphere.

Shooting Day Evaluation

My location for my thriller was the Guernsey Priaulx library. The library had 3 floors, the third floor looked run down and old fashioned and this was where I filmed my thriller. The room I used was filled with old books and files, this looked great for the back ground and added a nice element onto our mise-en-scene.

I am going to asses some of the high and low points of the day and also give myself some targets to focus on in future filming.

High points of the day:

  • We filmed a lot of well thought out good clips.
  • We had to use our initiative and think of the best shots to take.
  • It was a good task to improve my teamwork skills.
  • Our mise-en-scene looked good on set.
  • The shooting went smoothly.

Low points of the day:

  • The cameras battery was low meaning some shots had to be rushed.
  • The lighting wasn’t the best.
  • We were limited of space because of other groups in the location.

Targets for future filming:

  • Make sure the camera is charged up full.
  • Use auto focus to make sure the shots are all in focus.
  • Bring extra lighting equipment to make better lighting.


Here are some pictures we have taken when we were out shooting.

img_3969

img_3970

img_3968

Here are some screen shots of shots that we like and think worked effectively.

screen-shot-2016-12-09-at-14-19-11 screen-shot-2016-12-09-at-14-16-19 screen-shot-2016-12-09-at-14-17-06 screen-shot-2016-12-09-at-14-18-09 screen-shot-2016-12-09-at-14-18-27 screen-shot-2016-12-09-at-14-18-41

I think these shots illustrate:

  • Good framing within the door.
  • Bright interesting colours.
  • Intriguing mise-en-scene.
  • Clear in focus shots.

Risk Assessment

We all filled in the risk assessment sheet so that we understand the dangers while filming and to keep us safe. It is important to take the risk assessment seriously and act responsibly about it. Below is the risk assessment we used before we went out filming.

Please click on the photo to enlarge it

screen-shot-2016-12-07-at-13-53-34

Production Meeting Agenda

We made a production meeting agenda document to put down the information that we will need when going to our filming location. We included what costume and props we will take for each character to dress up as to make the mise-en-scene look interesting and creative.

This is our production meeting agenda.

Shot List

We made a list of the shots we are going to do when filming our thriller. The shot list is a brilliant way of putting down our ideas and breaking them down into each individual shot to make it easy and clear for us when we start to edit our thriller for example including close ups on the doctors face to show his expression when he sees the person in the body bag.

The document below is our final shot list.

Storyboard

This is the story board we have drawn up of each shots that are in our narrative. The storyboard will be used to help make sense of our ideas and improve our shots on shooting day.

Please click on each image to view the story board

img_3981img_3982