After our shoots we then imported our footage into premier pro to edit our music video. During post-production we learnt how to use many different features which helped our music video achieve the aim of being preferred by our target audience.
The first skill that we found important was the curves tool. The helped adjust the colour and lighting of some of our shots. For example some of our bunker shots looked grainy due to poor lighting so by using this effect our shots looked more in focus so that we can see the performers emotions, for example her fear and anxiety, and the narrative comes across more clearly. We also used curves on some studio shots to change the colour of the shot. This gave our music video a more electropop feel giving our audience a preferred reading.

Another skill that we used a lot was the speed/duration tool to slow down our shots for example the blinking and walking ones. This gives the video a more dynamic feel and also gets us to see the performer’s emotion better especially in the close ups.

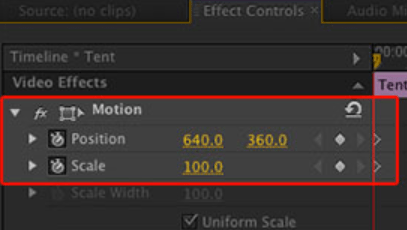
Finally anther tool we used was the scale/position tool that we used to create a zoom effect. We used this particularly on a shot of our performer kicking towards the camera. This added dimension and depth to the shot helping give an edgy and grungy feel to the music video.