January
29

January
29
Question 3: So… How did your production skills develop throughout this project?
January
29
Question 2: So… How does your product engage with audiences and how would it bedistributed as a real media text?
January
29
Question 1: So… How does your product use or challenge conventionsand how does it represent social groups or issues?

January
16
So…How’s it going?
What new transferable skills have you learnt? What went well and even better if…
What is a transferable skill?:
A transferable skill is an ability or expertise which may be used in a variety of roles or occupations. Examples include communication, problem-solving and self-control.
With this information in mind, I have learnt a lot of of new skills. Below are some examples of transferable skills I have used:
- Communication: I have been able to speak to new peers in my class and get their feedback on my music magazine
- Different forms of communication: I have spoken to people in person, I have sent them instructions via social media platforms and in addition to that I used the blog league for comments on how I can improve and act upon my work.
- Critical Analysis: I’ve had to receive feedback on my work, and then act upon the feedback in order to make my work better.
- Research: I’ve had to research certain topics in order for me to understand and process what is being taught to me, then transfer the knowledge to my work to make it even better.
- Teamwork: I have been involved with group projects, and this has helped me to understand a task from another persons point of view and that there is always more then one way to go about a task.
What Went Well?:
In my opinion I believe that in the whole project so far I have done the best I possibly can, however some of the things that stand out the most for me are:
- Contents Page
- Photoshoot outcome
- Research about the music genre
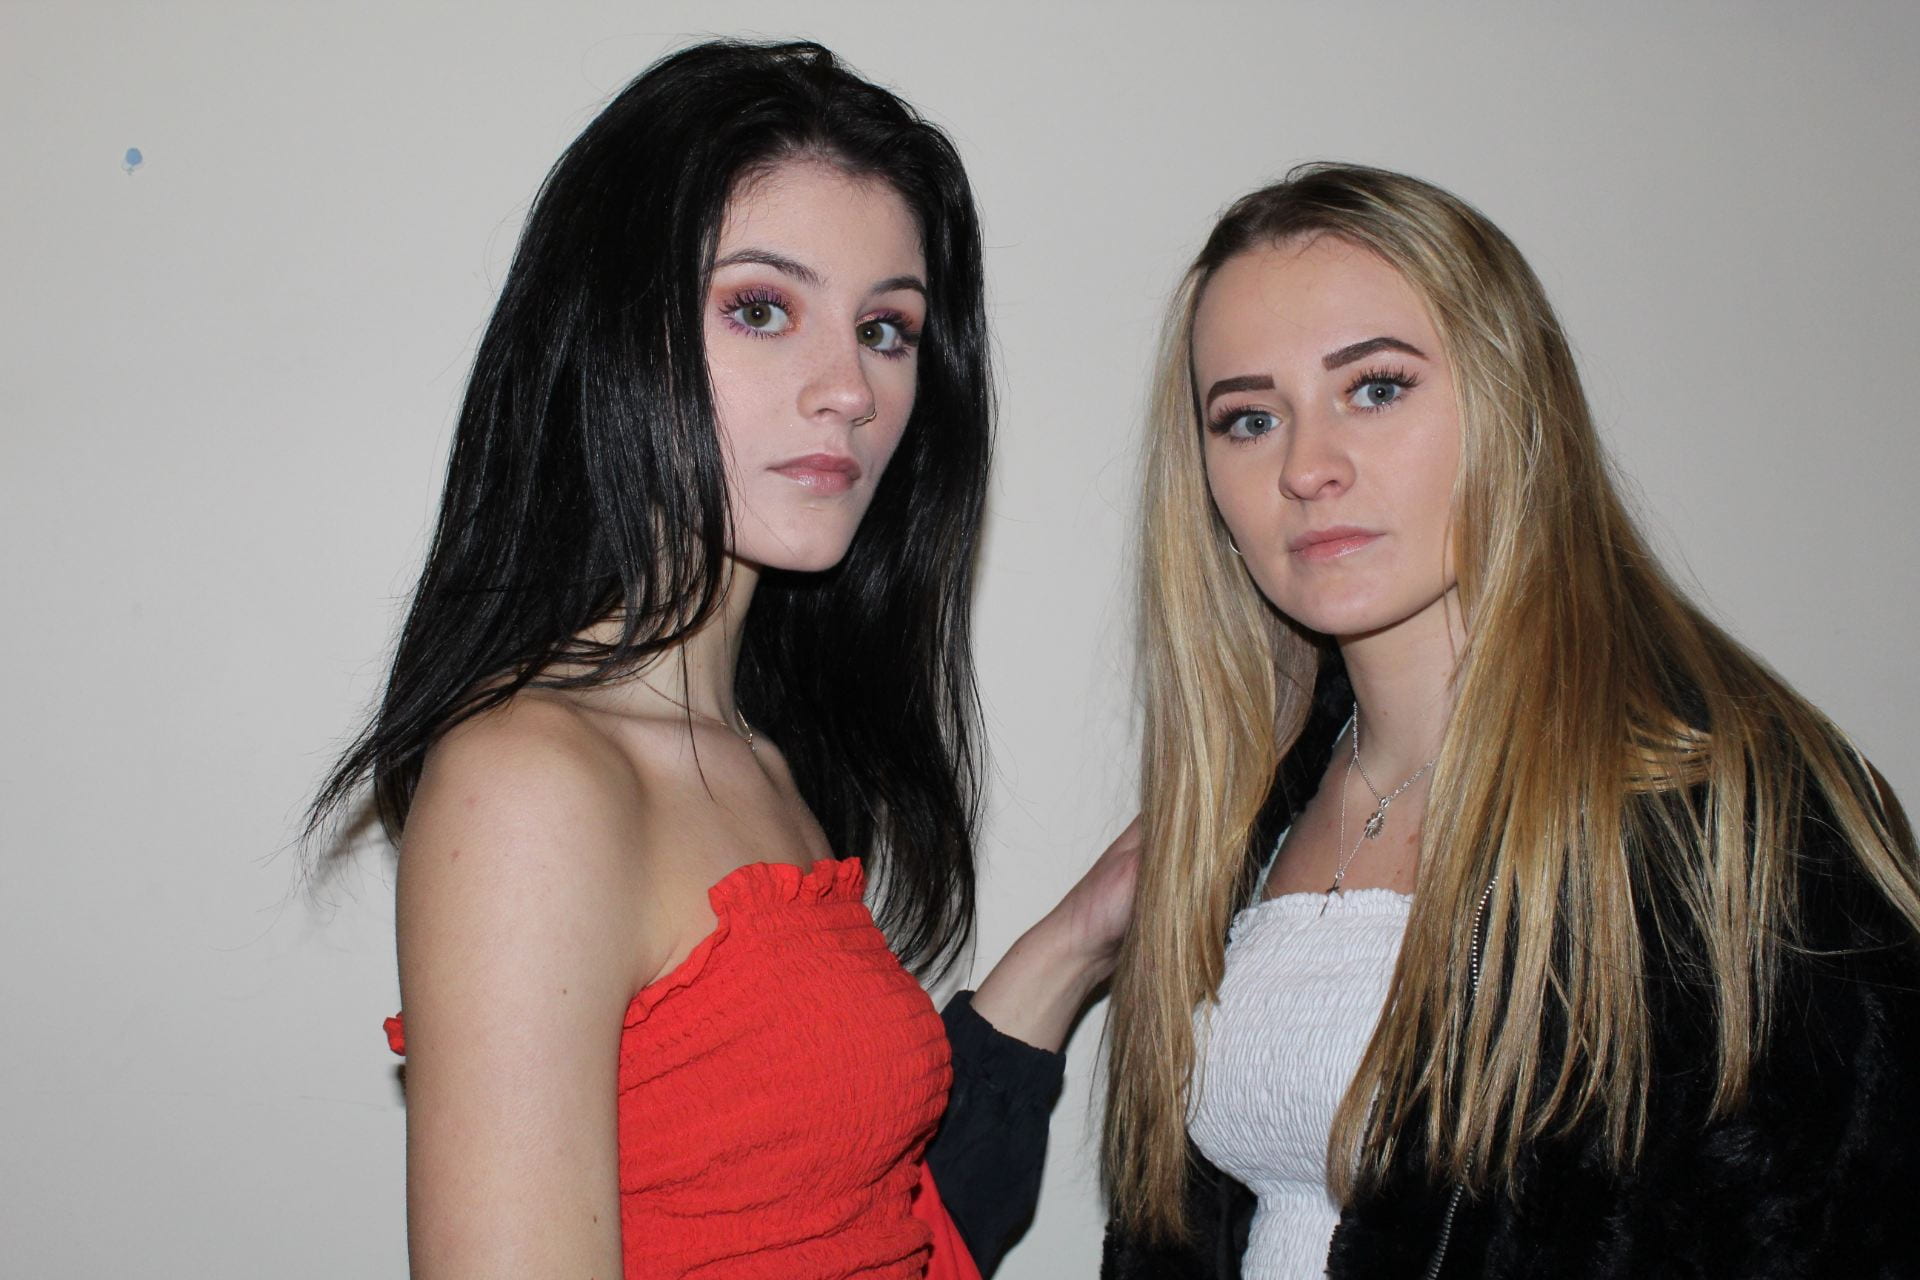

Here is my favourite photo from my most recent photoshoot:

Even Better If:
Even though I think positively of my work, I believe that there is always room for improvement. I believe my improvement if I were to do this project again would be:
- Music Magazine front cover
- Masthead designs
- Feature Article
January
8
Design Skills 2
Since my last post on design skills, I have become more confident in using Photoshop and Indesign, and this has allowed me to be able to experiment with a variety of different tools across both platforms. Although I still use the same tools, I have been able to become more confident when using them. This has helped me to grow confidence with using Adobe programs.
Photoshop:
Above our the tools I have used for photoshop firstly I used the eyedropper tool, to enhance any colouring on the models outfits, this has been done so my model can fully showcase what they are wearing. By using the eyedropper tool you are able to blur out any of the models ‘imperfections’. This makes the model seem perfect and not relatable to the target audience, this reinforces the extraordinary person from Richard Dyer’s ‘Paradox of the Star’ Theory.
In addition to that I have also used this tool to enhance the white on the eyes. Next I used the Crop tool, as one of my image that I have used for my content pages had a lot of excess background. By cropping the image, I am able to highlight the models even more and showcase them.
Indesign:
Since my last post on design skills I have discovered a new tool, the polygon tool, the polygon tool allows me to create a shape in which I can write a catchy caption or an important piece of information in. I have used the triangle for my contents pages and this has created a zig-zag effect on my page. By using the polygon tool, it will allow me to use a variety of shapes that aren’t just a square or a circle. The polygon tool isn’t a conventional feature of my magazine, however it does set my magazine apart of others and brings a whole different air to it.
In addition to that I have used the ‘Stroke tool‘, by using the line tool I have been able to separate the catchy captions from each other. The Stroke tool can be changed by the weight, type of line. Personally I use the triple lines, as this looks a lot better on my content page.
December
16
Design Skills 1
Below is my examples of the skills I have learnt using Indesign and Photoshop:
Photoshop: (Below are 4 examples of the tools I regularly use on Photoshop)
The tools I have used for Photoshop:
- Eyedropper Tool– I used the eyedropper tool to enhance the eye colour and brightening the eyes so they will stand out more. This made my star image more youthful and more livelier.
- Brush Tool– By using the brush tool I am able to ensure that my model looks the best they can, By using the brush tool it ensured that my model looked youthful which is perfect as my target audience is for teenagers and this will appeal to my audience more.
- Brightness and Contrast Tool– I have used the brightness and contrast tool to give an extra flare to my image and this has made the image a lot better. My reasoning for using the Brightness and Contrast tool is because I wanted to enlighten my model and ensure they look fresh and appeal to my age demographic. My models should convey the image of youth, as my target audience have a preferred style of reading which would be someone closer to their age.
- Auto Contrast– Once I upped the brightness and lowered the contrast down, I then used auto contrast just to enhance the features of my models. I used Auto Contrast to bring depth to my model and make them look crispier and sharper as this will bring out the models features a lot more.
By using these tools I am able to ensure my models features stand out and that they look the best they can. By using photoshop, I have learnt how to successfully edit an image of a model, and I know what techniques work on my particular genre of music and what techniques don’t work.
Indesign: (Below are 3 examples of the tools I regularly use on Indesign)
The tools I have used:
- I sent my stripes backwards so the image of my models is the main focus
- I used the outer glow effect to enhance the names ‘Amelia and Amber’. This ensured that the target audience know exactly who they are reading the article about
- In addition to that I used Global Light to make the names of the models stand out.
November
13
So… I am ready to photograph my star.
Mission Statement:
‘Buzz’ is a magazine that thrives on it’s audience standing up for what they believe in and never letting anything stop you from achieving your dreams. Our artists selected are brilliant role models for their fan bases. We hope to convey a brilliant star image with those artist selected. We aim to please a large audience and appeal to everyone. Our magazine is solely based on Pop music, with this genre we aim to make everyone happy with the music we select to show and the artists we equally aim to showcase. Not only do we talk about Pop music we have a wide range of subtopics we feature in our magazine such as ‘Buzzes top 10 songs of the week’ One of our writers will sit down with the artist of the week and will learn a lot about their personal journey and how they got to the point they are at today. From people like Ariana Grande to the worldwide famous girl band Little Mix. This magazine has it all!
Brand Values:
‘Buzz’ aims to provide you with the best and most relevant information on your favourite artists, and cater to all of your requests and desires. We take pride in our selves for providing a welcoming platform on all of our social medias.
Importance of Mise-En Scene:
- Costume
- Lighting
- Acting and Proxemics
- Makeup and Hair
- Props
- Settings
In my photo shoot I will ensure to direct my star so she gets the best possible angles that suit her. Every detail matters in photographing your star. From the costume to the placing of the model when in shot, all of these factors counter to produce an amazing photograph. From all of the research I have done, I am now able to understand my target audiences needs and requests in order to make the magazine the best possible magazine it can be.
What have I learned about using a camera?:
I have learnt how to use the following:
- ISO
- Aepture
- Shutter Speed
- Angles
- Shot Type
- Distance
- Framing
Using the knowledge I have, I will be able to communicate a message to my target audience through the use of Mise-En Scene. My camera knowledge will be able to direct my thoughts and views about my music magazine. With all of these aspects of studying my target audience, I understand that the audience should have a preferred reading style and this knowledge has been taken into consideration.
October
21
So… I’m ready to make some media!
Now I am ready to produce my music magazine I need to consider mise-en scene as it creates a narrative. it is important to include and think about Mise-en Scene as it gives the image a story and you are in control of how the story will play out.
Another thing to consider is camera settings:
- Rule of thirds
- Depth of Field
- Vantage Points
- Contrast
- Aepture
- ISO
All of the things above are important you have to take them into consideration when shooting for a model as you can not have a photo of a model where the lighting is very dark as you won’t be able to attenuate their features on the face. Models typically should be in front of a background which will make them stand out such as a white background or a green screen. That way it is easier to see the costume, makeup etc. This will also attract the audience to look at the media produced. In addition to that any messages or symbols should be highlighted throughout the music magazine as it will ensure my magazine to be taken to a whole new level.
I also need to think about the for types of Uses and Gratifications and they come from Blumler and Katz:
- Personal Identity
- Information
- Social Interaction
- Entertainment
I need to understand what my target audience are and what they like. This will impact my magazine, I will need to keep in mind the fonts, colour and genre as it will appeal more to my audience if it is something they like.
September
29
So… How can an image communicate meaning?
There are a lot of factors to consider, you need to ensure you are showcasing a narrative to the audience. Firstly you need to consider Mise En Scene:
- Costume
- Lighting
- Acting and Proxemics
- Makeup and Hair
- Props
- Settings
Also you must consider the Camera Framing as it shows the message you want to portray, it represents Denotations and Connotations.
Here are some examples of the different distances used to take photos:
- XLS– Extreme Long Shot
- LS– Long Shot
- MLS– Medium Long Shot
- MS- Medium Shot
- MCU– Medium Close Up
- CU– Close Up
- BCU– Big Close Up
- XCU – Extreme Close Up
In addition to that, you must consider the different camera settings:
- Aepture
- Shutter Speed
- Brightness
- Depth of Field