Design Skills 2
We used a variety of techniques in both Premier Pro and Camera techniques to influence our music video and the message that we were trying to suggest. In this post, I will be outlining some of the most important ones for us when editing that helped us convey our star image and narrative.
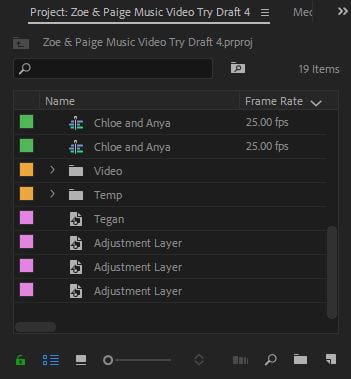
ADJUSTMENT LAYERS- we used adjustment layers in our music video, these were very important in our editing especially our colour correction. We split all of our clips onto different tracks. This then allowed us to add adjustment layers to a group of clips, and edit them all at the same time, for example we could apply a filter to the entire selection of clips rather than doing it one at a time. The adjustment layers impacted star image as it meant that we could have a continuous edit throughout all the clips this brought fluidity in the video and continuity, this suggested the idea of the constant star image and the constant need to present themselves in a particular way.
CURVES- we used curves to colour correct our music video. We added more blue into the shadows and areas of black to suggest the idea of the Instagram Filter. This suggests the idea of perfection. We adjusted the blue by adding a marker in the bottom left hand corner which is the shadows, and then increasing this upwards which therefore increases the blue in the shadows. This was impactful for the audience as it demonstrated the idea that they felt that this was the only way for them to present themselves to other people and their audience. It added continuity to the video and I think it worked well to convey the narrative idea behind the performance of the star.

NESTS- we used nests so that we could add different adjustment layers to isolated clips, otherwise the adjustment layer would apply to all clips below it. By making a neat we could use multiple adjustment layers and segment the clips to that they all worked well together. This was very useful in our colour correction and filter process as it allowed them to be done to multiple clips and not affect others. This allowed us to group clips together and apply filters to them all, this ensured that the filter was the same and ensured continuity through the video, and the editing was balanced and the same on clips. This helped to present the idea of the continued pressures on the star and ordinary people to look a a certain way.

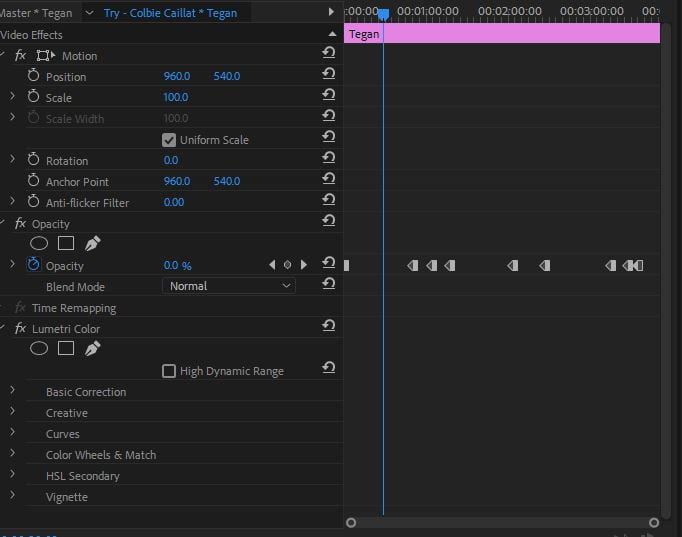
KEY FRAMING- we also used key framing to either increase or decrease the opacity at certain frames. This allow due to gradually introduce or remove the filter and colour correction that we had made depending on the meaning if that section. The key frames made this transition seamless and caused a natural decrease. We used the hold key frames to that at each clip there was a drop in opacity with the start of each new clip. This allowed us to gradually fade the colour correction out through the entire course of the video. We could also bring it back if we needed to.
Overall I learnt a lot of new skills when editing my video. I also felt that these skills helped Paige and I to convey our star image and narrative more successfully in our editing. I think that these skills and tools were important in the editing of our video and worked well to convey our meaning.