Sound Design
Synesthesia is the production of a sense impression relating to one sense or part of the body by stimulation of another sense or part of the body.
Sound, is vital to a thriller, through appropriate use of sound it can completely change the tone and mood and representation within the sequence. by adding sounds such as a non-diegetic drone music to build tension or diegetic crow sounds to add an underlying theme of fear.
theses sounds were implemented to make the audience react and feel a particular way, for example, the drone sound represents the fear that the protagonist goes through day in day out.
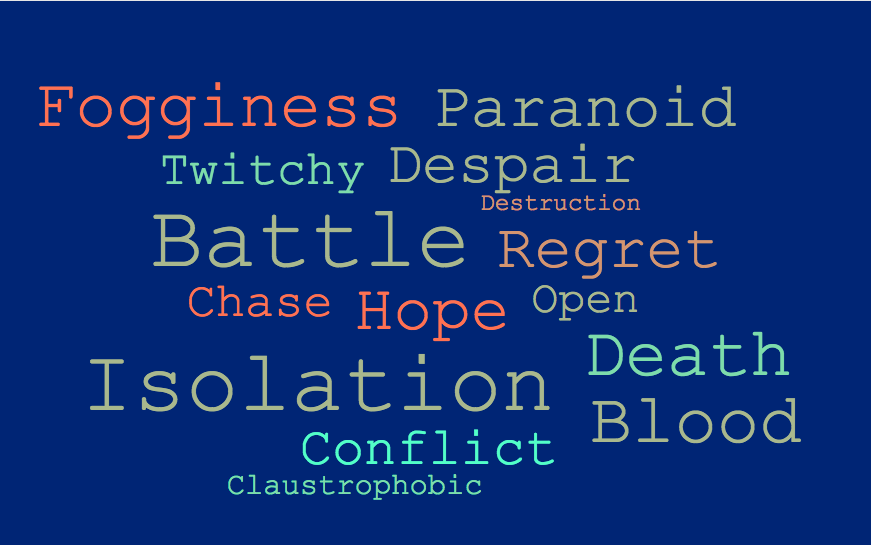
I made this wordle to show the kind emotions that I initially wanted to portray through sound, using the wordle helped me visualize my idea of what different sounds can make different themes be portrayed.
Above is a piece of non-diegetic sound that I came across on youtube, I liked the themes it made me think of, I would like to use something similar to this as connotes themes of isolation and deprivation, it is also increases tension which would make it generic of a thriler.
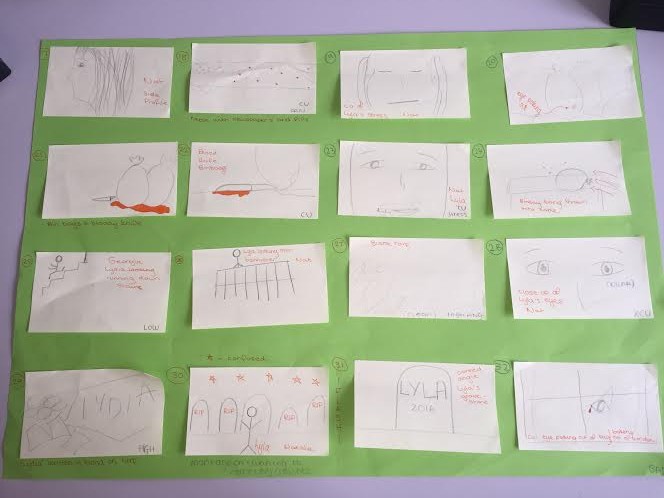
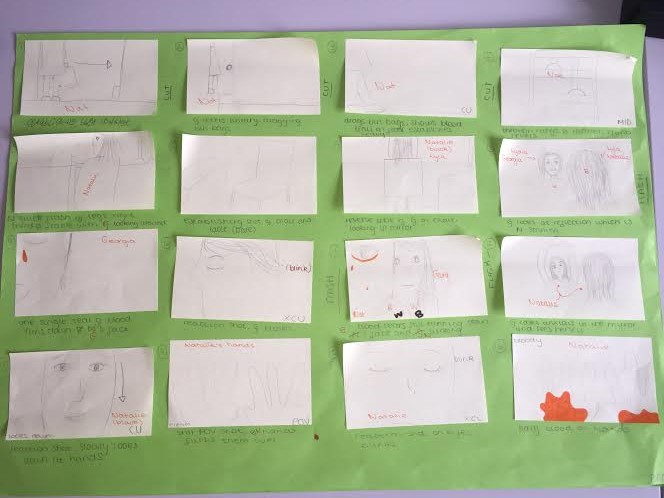
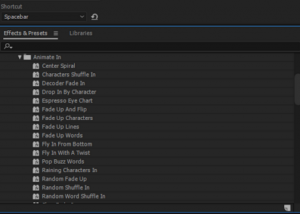
Below is a copy of the running order soundscape this is what we used to plan out our sounds within our thriller and to know what foley sounds we needed to record.

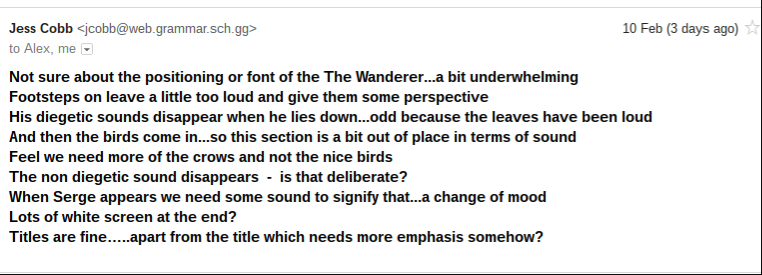


 Comment:
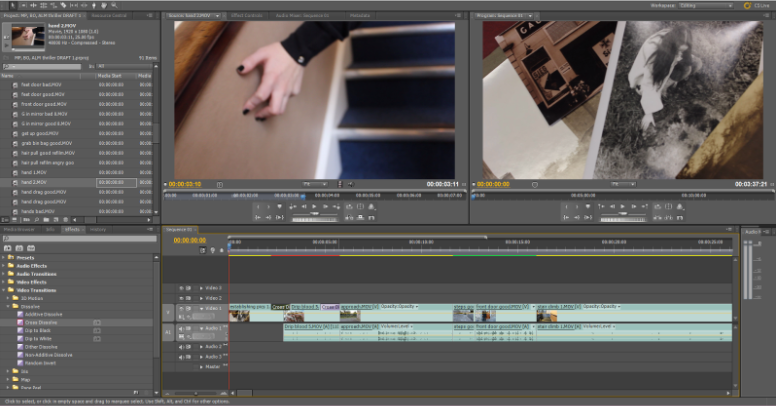
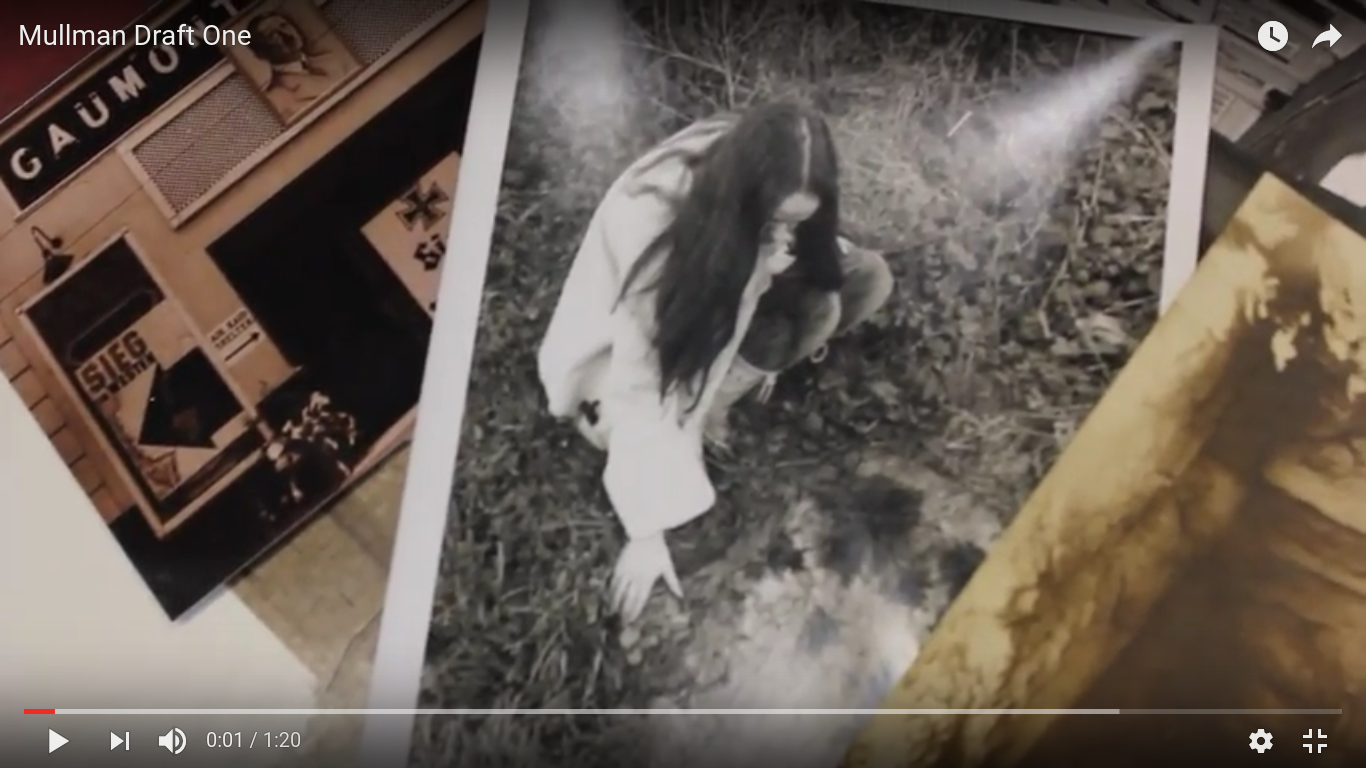 When filming we used a large variety of shots such as high angles, low angles, long shots and close-ups, we used close ups to show reaction to the happenings in the scene, we used a lot of canted angles to help show the “drugged” feeling of the protagonist, one of the shots we used featured a reflection, this shot i feel was particularly done well as the depth of field changed when focusing on the mirror, a shot that i feel could have been better is the final shot as the camerawork is shaky and could have been better.
 Another flaw that we found whilst on the shoot was some of our shots were blurry, we did not allow the camera to focus and it looks low standard, some use of editing and tools on premiere pro can help to correct these shots but we may have to refilm a few, however some of the shots that are out of focus can be used to create a blurred effect and reflect the mind of our protagonist.
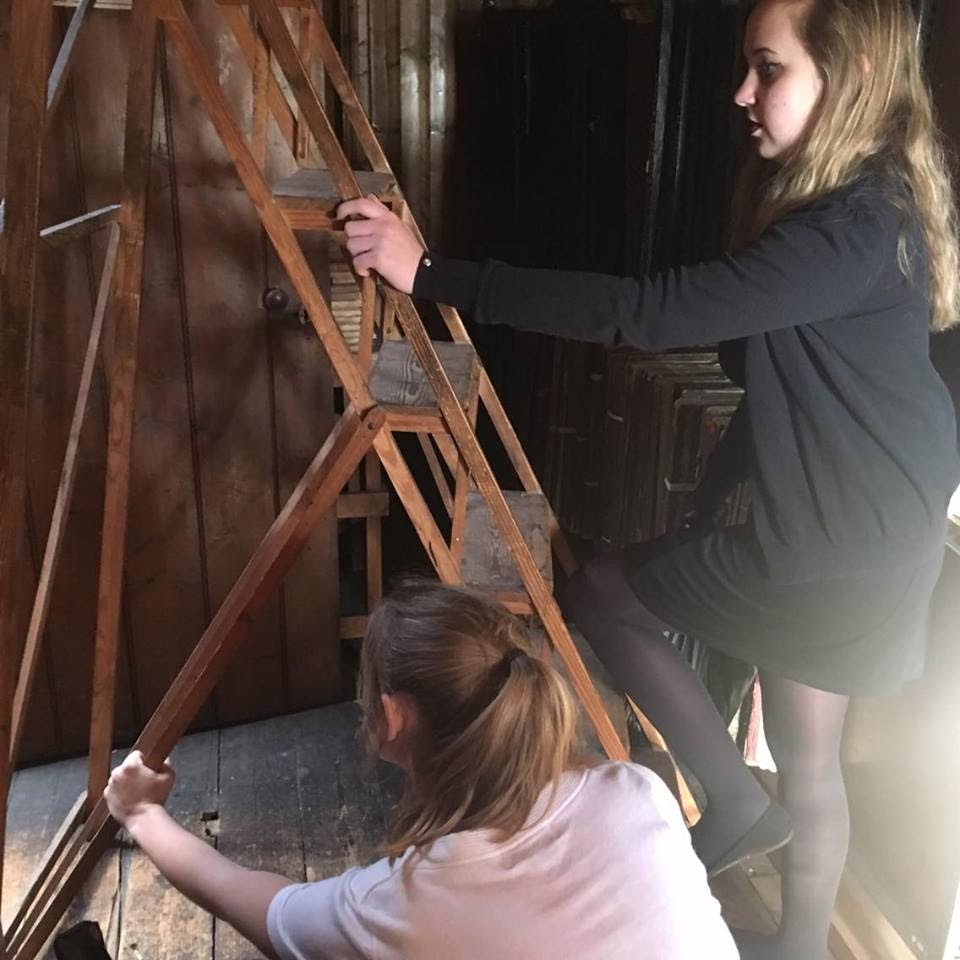 Pros:
Pros: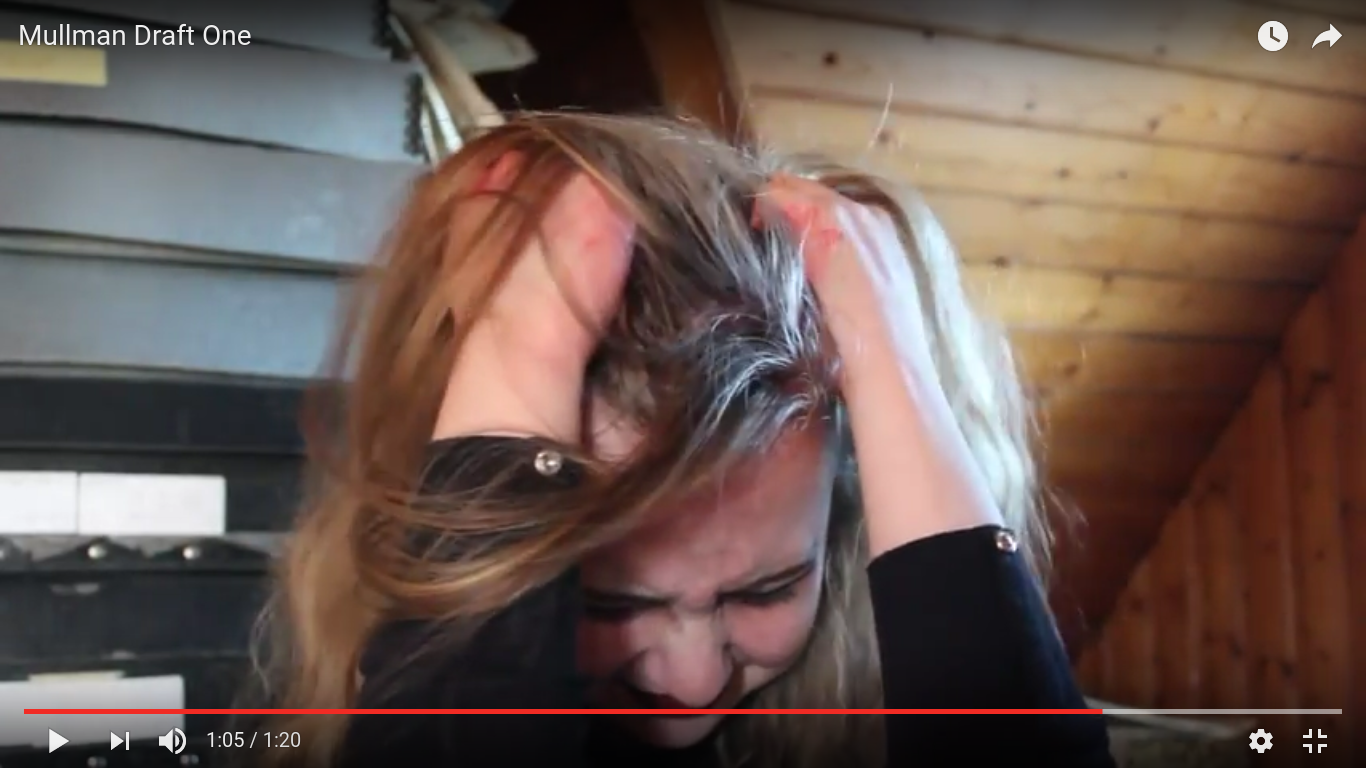 Cons:
Cons: