Intro: Once we had done research and decided on what sound we wanted in our thriller. We had to record or compose all of our sounds that we used. We then took them into audacity and edited them. These pictures show the process.
Here is a photo of us recording our sounds. We where using a tree to create the sound of a tree waving in the wind.

Click here to see image in full

This picture is showing the balance between two tracks. Track one is panned to the left and track two is panned to the left. This will give the sound more depth as we can make the wind travel from left to right.

This picture is showing the amplify too, this can make the track either louder or quieter. If you make it too loud it will clip off some of the audio.

This picture is showing the Equalization tool, this is used to edit the frequencies, from the left it has a low in the middle this is the mids and at the right these are your high frequencies.
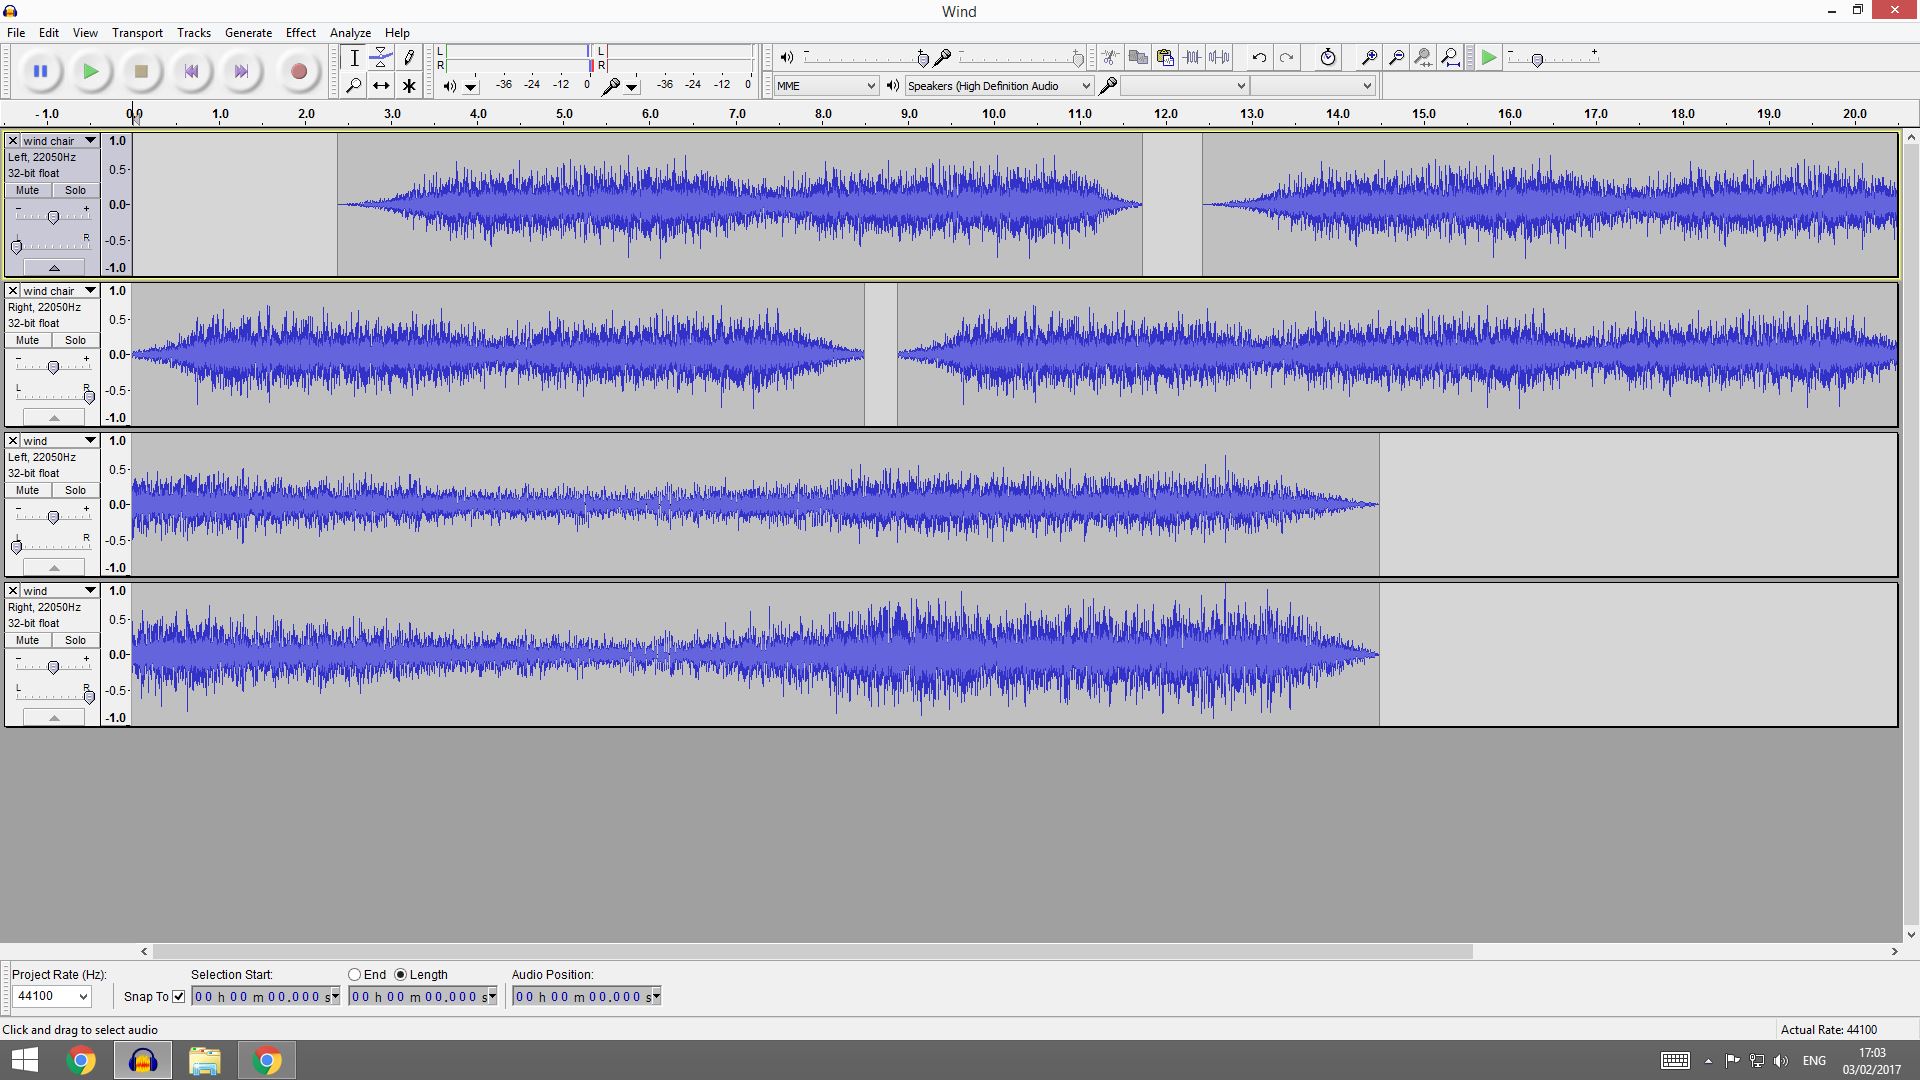
This picture is showing the final wind, the top two tracks are split from let and right and this will make the wind sound like it is blowing from left to right.

This picture is showing the reverb tool, this adds an natural echo to the track. An example of using this is to put in on a speech, this tool will allow you to make it sound like it is recorded in a room or a hall.