When creating the flute I used PVC plastic for the main body of the flute.
When cutting the pipe to the correct length, I measured with a tape measure then marked the pipe. In order to create a straight line that goes around the whole tube, I used a connector. As the connector is designed to connect two tubes together I had to remove an inner so it was able to slide onto the tube. I did this with a hole saw and assistance of someone that has greater knowledge of how to do such a task safely.
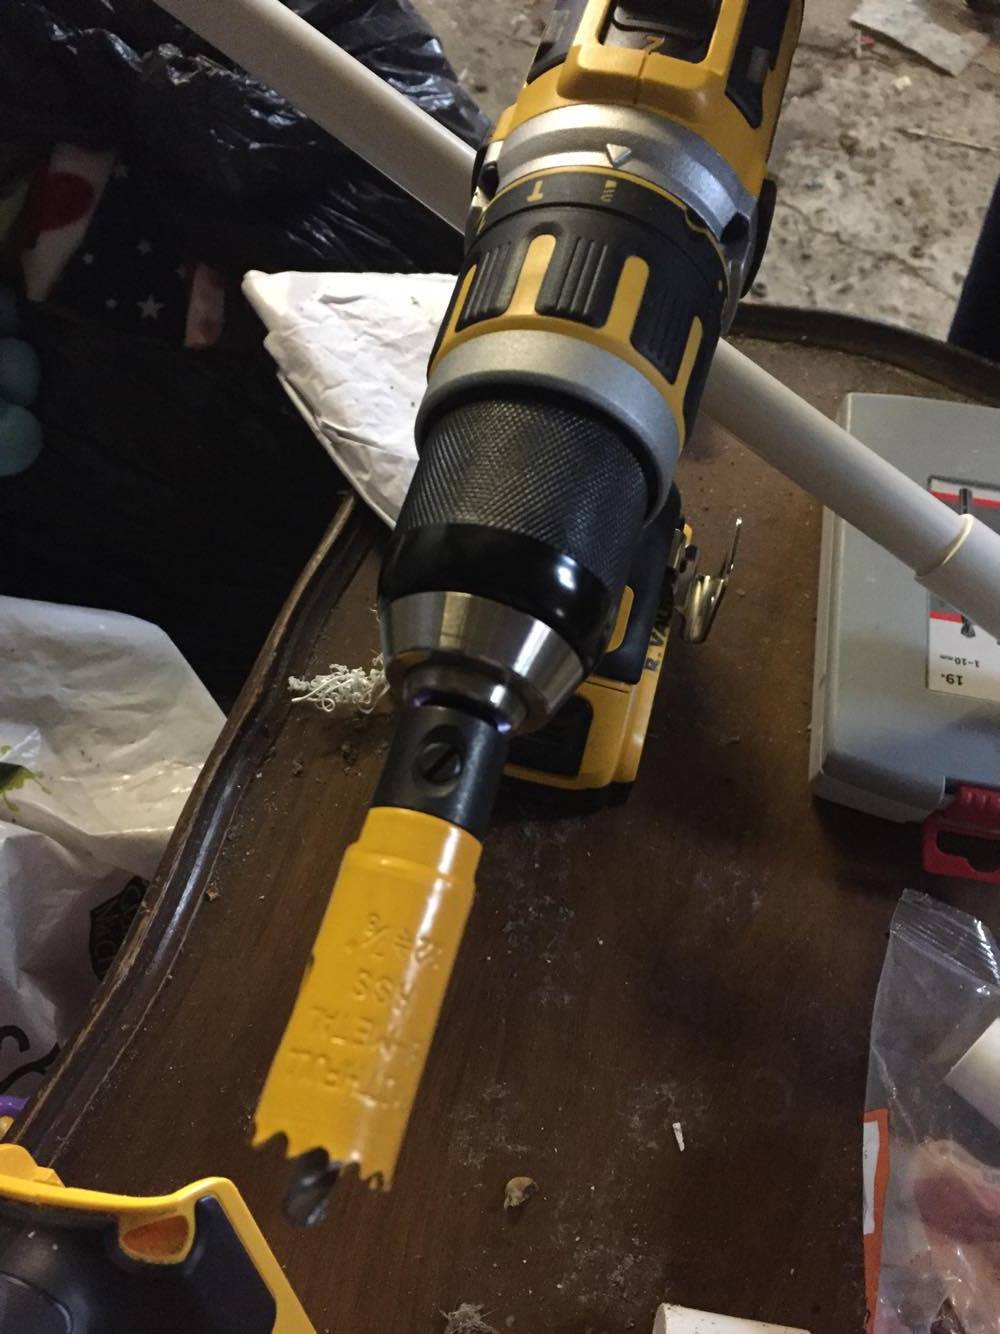
Once the inner ring was removed I sanded the inside to make the surface less rough and then slid it onto the pipe to draw the line at the cutting point.
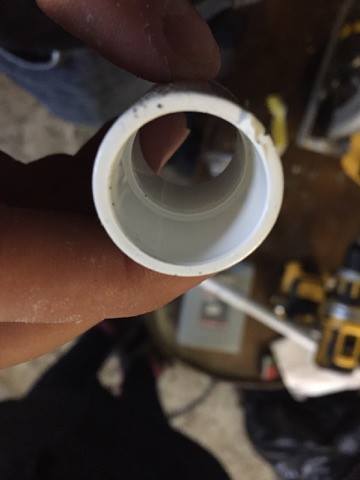
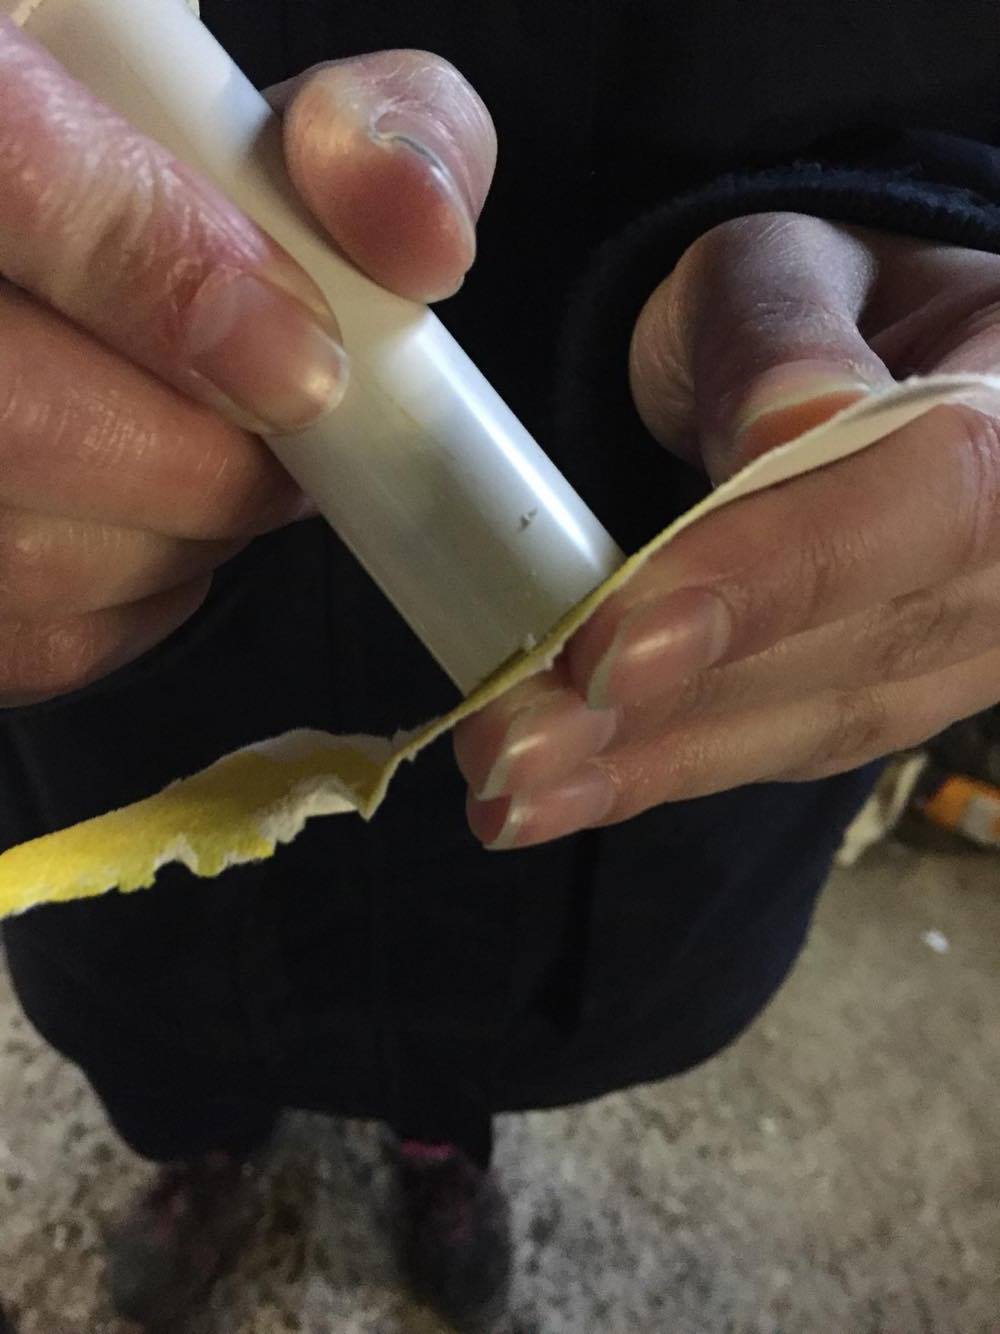
I then cut the pipe to the correct length and sanded the edge down to reduce the likeliness of plastic splinters.
Once the piping was ready we drew a straight line across the pipe and used the resources to mark where the holes were mean to the placed.
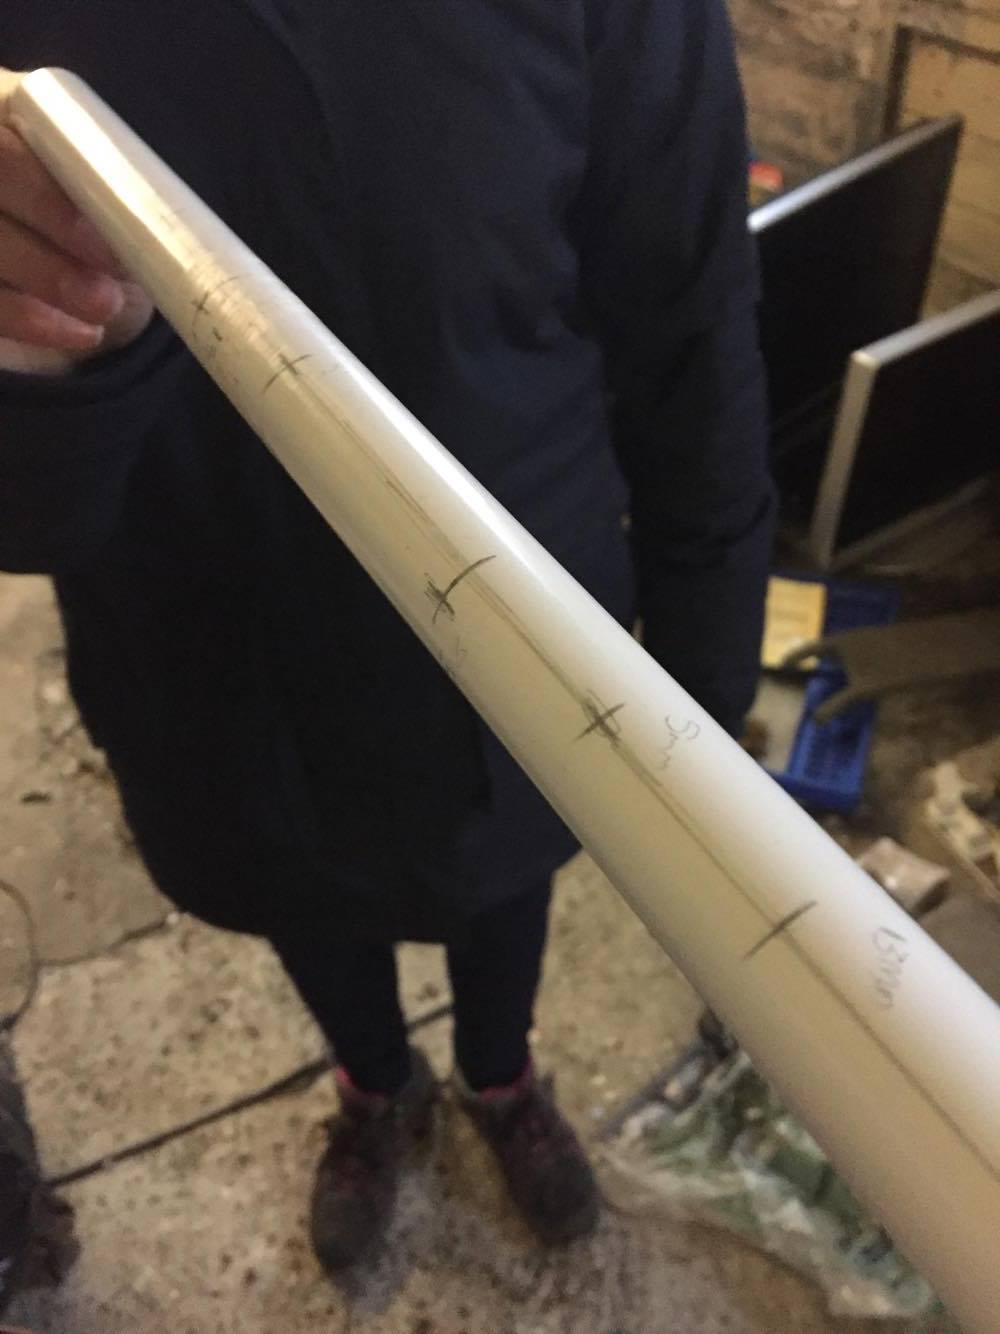
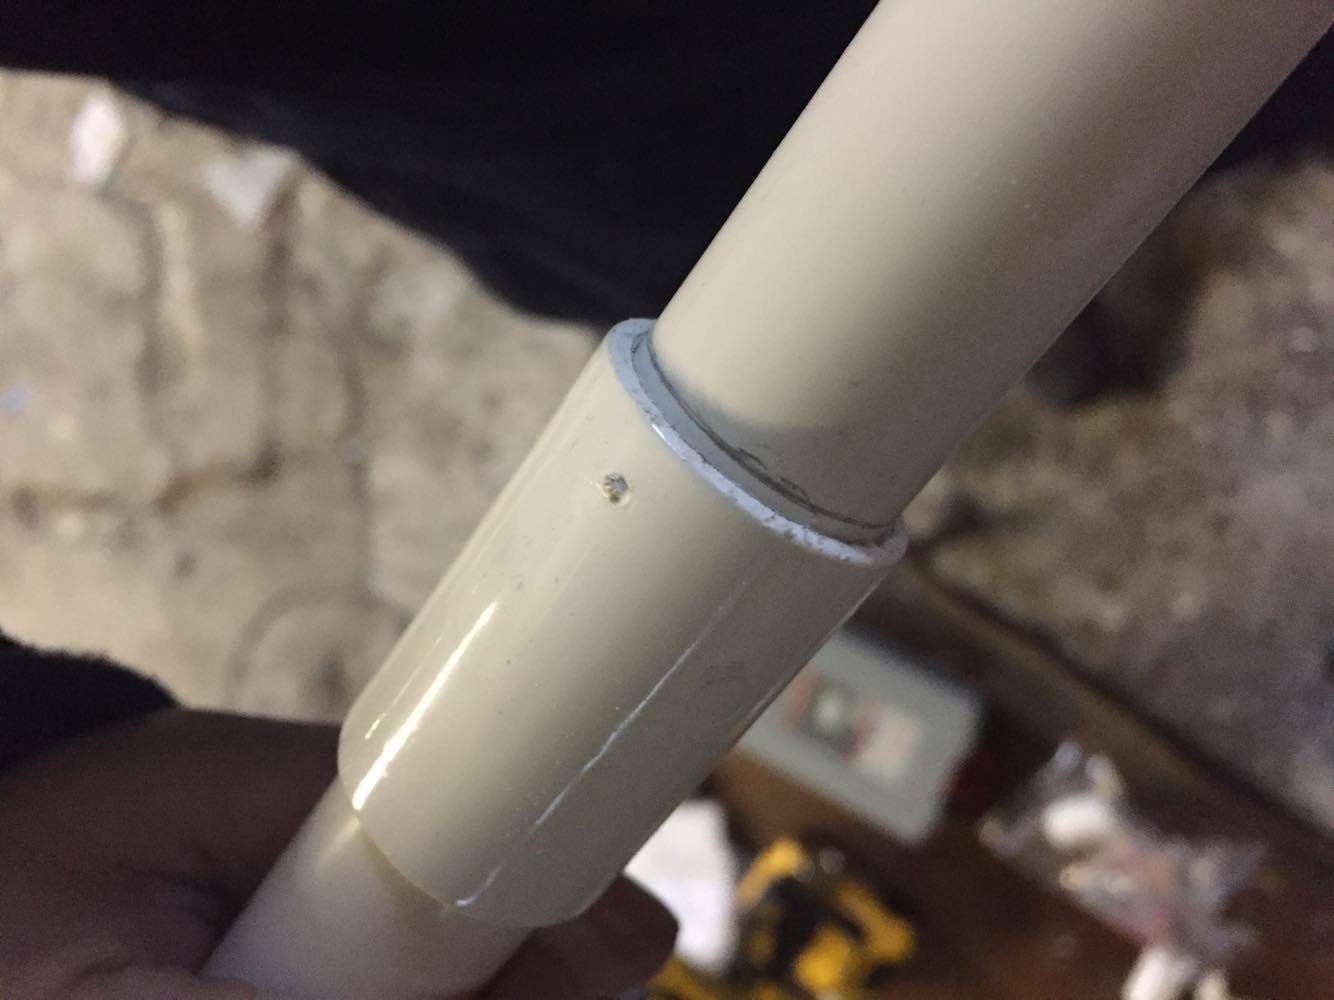
After this we drilled the holes, unfortunately, we didn’t have a drill bit for the 12.5mm holes so we used a flat bit instead, this caused a few problems as it’s not designed to go throw rounded surfaces, if I was to do this again I would look at getting a drill bit for these holes. Finally, I added the connector to the embouchure hole and inserted the cork to the end of the instrument.

Once I made the first flute I decided to evaluate it before I make the next one.
The main problem when making the flute was the hole sizes and the fact that the method was written in inches and not cm. This caused a few mistakes and problems such as the holes being too big for my fingers.
A sound is produced from the instrument but it is hard to get a clear sound but does play a few tuned notes.