Voice testing

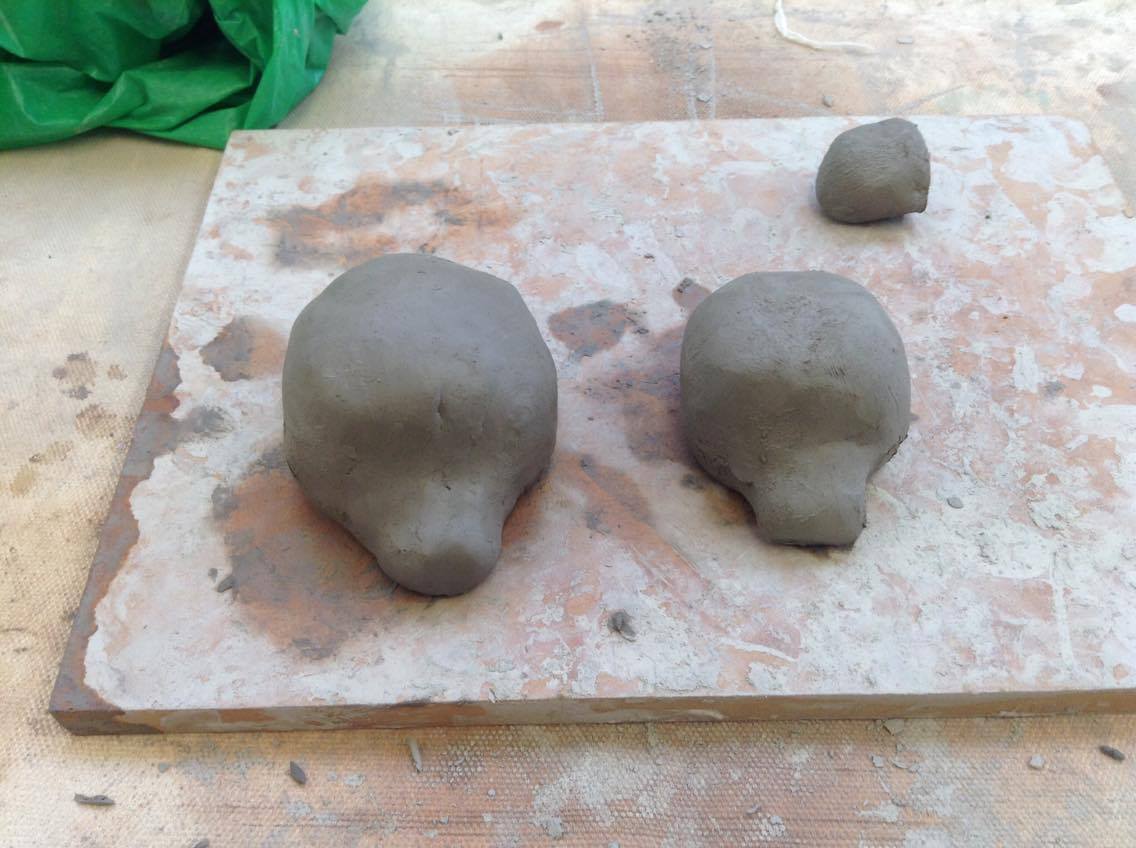
Once all the instruments had dried I tested each of them in the same way. I did this to gain vaild test results. I also choose to write down numbers in different areas rather than just noting down opinions on each instrument to gain measurable results.

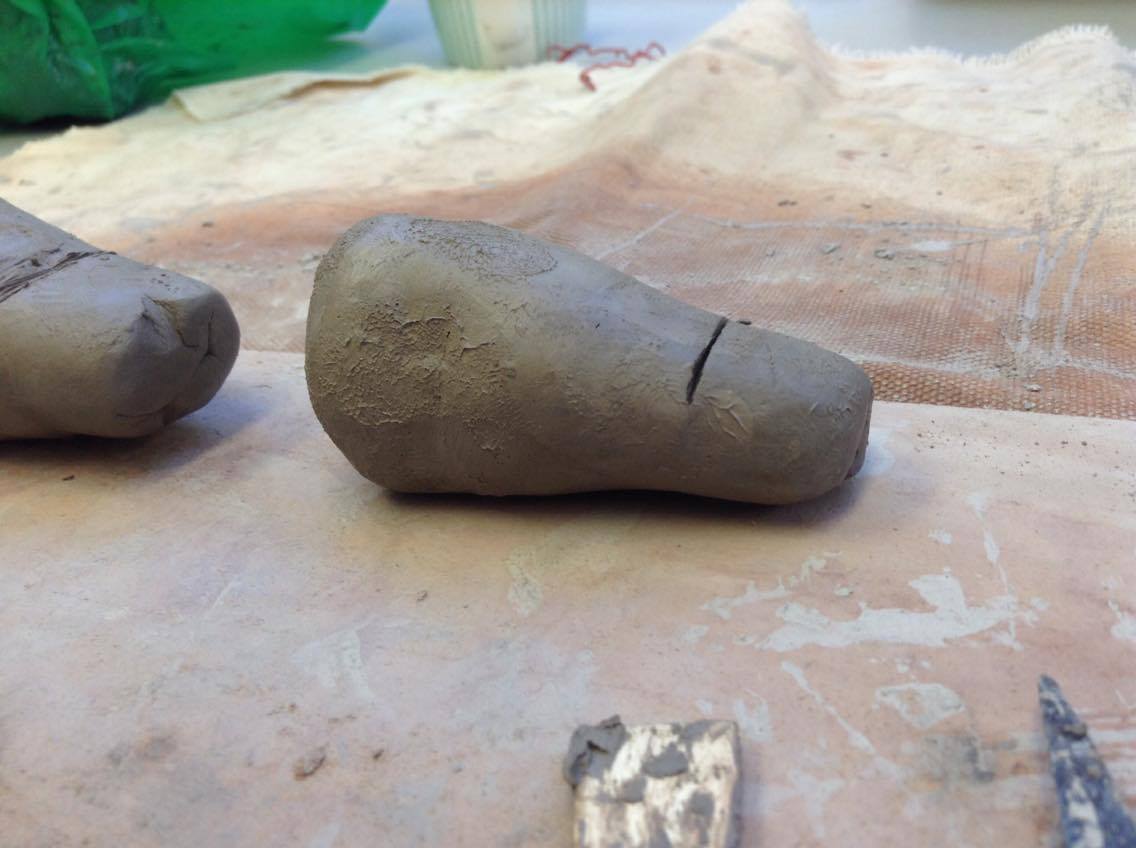
On the visual aesthetics of the instrument by this I mean whether the instrument has and obvious imperfects (cracks and dents). Sound production quality was testing how clear the sound was to hear for example it could have sounded too fuzzy. Lastly, in sound production, I tested how easy it was to make the sound from the instrument.
tableofresults-page-001

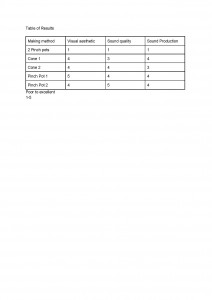
From these results and from production the Pinch pot method is the best method of making the instruments.

As practice towards the tuning of the instruments, I tuned some of the instruments. From this practice, I figured out the tuning system I hope to use and created a chart for tuning so that I can tune in any key.

Final Test

In this week I did the last test on method making, the pinch pot method.

In this test, I created the chamber by creating a pinch pot and then closing one end of it to a point. While doing this I smoothed the body of the instrument out to remove creases.

15216061_1106267652827790_2083631765_o

Then I created a mouthpiece which had a small slab of clay behind it, to strengthen the wall. With the body, I flatten one side to create a flat base and then another to add the mouthpiece. When attaching the mouthpiece I score both parts and slip to both parts to ensure they are blended well.

15216249_1106267699494452_801899168_o

Then just like the other two methods I make the voicing and airway in the exactly same way.

Test 2

This week I tested my 2nd method the cone method.

For this method, I firstly created a cone shape out of the clay. Then I created a hole in the cone, leaving room at the thinner end of the cone to use as the mouthpiece which I marked with a line. Then I gradually increased the size of the hole and evened the walls in the process, to close the gap up at the larger end of the cone I shaped a flat piece of clay to put over the gap added slip and scored the surface and then smoothed the piece in. This created the chamber of the instrument.

15216216_1106267956161093_702617164_o

Next, I created the voicing and airway for the instrument, for this, I used the place where I marked and made a small hole. Then a created the airway by inserting a spectacular through the mouthpiece which came out by the hole a created for the voicing.

15204228_1106267816161107_666621672_o

In this test, I used the knowledge I learnt from the last test and created 2 of the products.


First Test

This I tested the first method of making, the two pinch pot method.

For this, I made a picture diagram of a step by step method to make sure I knew what I was doing.

Firstly I gathered to small balls of clay roughly the same size and made them both into pinch pots. Next, I connected to two pinch pots together by creating a long thin strip of clay to put between them to strengthen the gap and added slip. This created the chamber of the instrument. Then I added a mouthpiece to the instrument, I did this by gathering a little cube of clay scoring one side and scoring a side of the instrument and added slip the smoothed the clay out.

15388584_1123757424412146_1045954628_oNext to make the voicing of the instrument I created a hole in the top of the instrument to create the voicing hole. Then I created an airway in the mouthpiece which linked to the voicing.

15388782_1123757537745468_1312742391_o

From this test I realised it would have been better if I had made two to check whether it due to chance that this product didn’t turn out well.