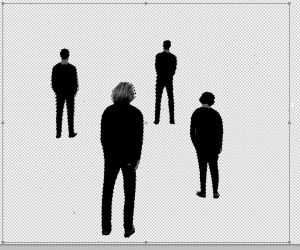
As part of our inside left cover for the digipak I took a photo of the band facing away from me and imported it into photoshop this was so I could turn the guys into a silhouette look.
To do this I selected the four guys using the quick selection tool and then erased the back ground of the image so that I was left with just the outlines of the guys on the document. I then selected a new layer and clicked on ‘colour range’ where I was able to change all of the guys into black filled in outlines as shown below.
I then noticed that I mistakenly deleted certain areas of the band when erasing the background so I then inserted shapes to the correct size and filled them in with the grey colour shown below. This allowed me to then change the colour of the shapes and look as if the image was never filled in. Without doing this the body outline would be filled in with the sea background colours instead of the grey.
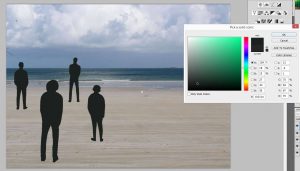
Next I imported the four guys onto another document where I had already selected a image of the beach as the background. This image was a image I had already taken a few months before on a nice sunny afternoon. Once importing the bodies I resized them to get the proportions correct to fit the beach background.
I then decided the grey colour was far too dark on the bodies and did not match the colour palette of the overall digipak, so I selected colour range once more and began to fiddle round with the colour selections as shown in the below, where you are able to see that I was choosing a more green colour to match the front cover of the digipak’s triangle.


