Category: Planning

Advert Mock Up

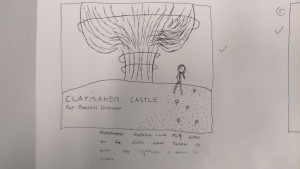
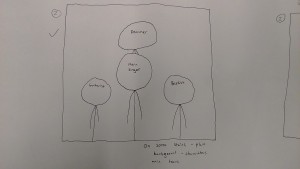
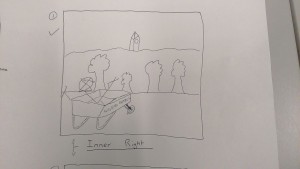
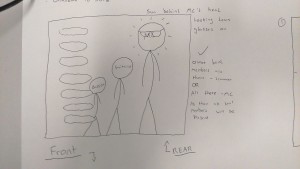
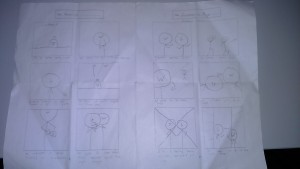
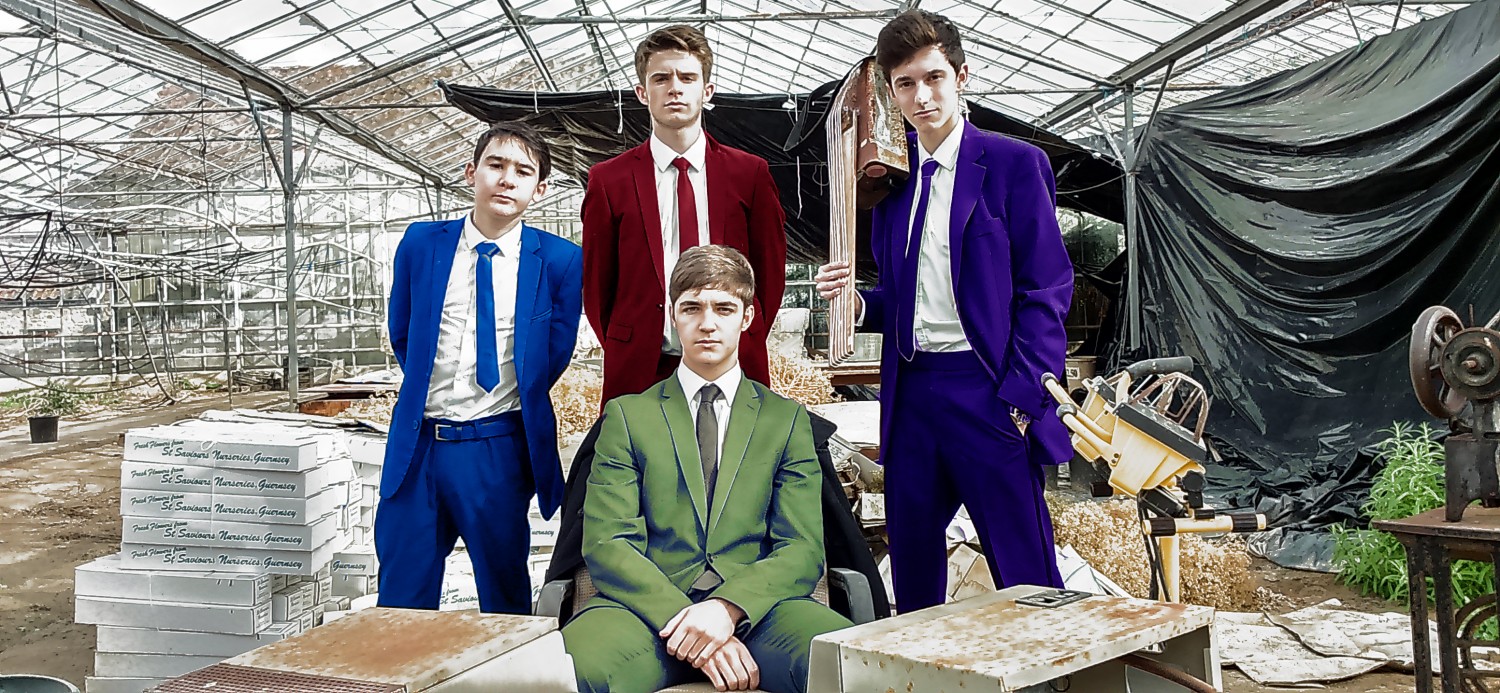
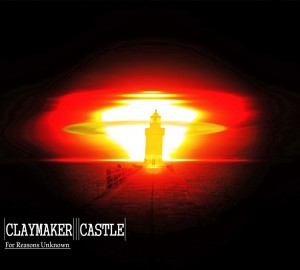
For our advert we wanted to link both the digi-pack and the music video into one place, this allowed us on the poster to talk about the album but also the new single that comes on the album. Or idea was to have the main singer in a darked room hanging a picture on the wall, the picture would be of the front cover of our digi-pack, this is how we wanted to link the album to the advert. Our idea to link in the music video was to have a picture of the Mona Lisa located next to the picture he was hanging up and on the other side was to have a picture of all four band members.

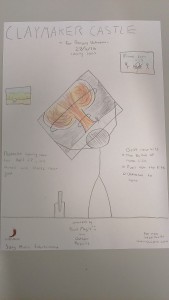
To see our hand drawn mock up of our advent Click the image Below.

advert


Similar to our digi-pack we created a document which we gave to students which we presented our advert idea to. From our feedback we learned that people struggled to understand the links from the album to the advert and even the link back to the music video.

To see some feedback watch the video below.

From our feedback we as a group decided on some targets for our final advent:

  1. Make a stronger link between the album and the advert.
  2. Remove the link between the advert and the music video
  3. incorporate the new album cover into the advert.

Risk Assessment – Digi-Pack

Before we are able to perform our photo shoot we must first be sure that what we are doing is done in the safest environment possible. To make sure of this we had to fill out a risk assessment sheet, on this sheet we stated all the dangers and said whether they can be dealt with and what precautions needed to be take. Once the document was complete it was signed by us, a member of staff and our parents.

To See The Risk Assessment Click The Image Below.Risk assessment2

Production Meeting Agenda – Digi-Pack

The final preparation before we performed our photo shoot for our digi-pack was to create our production meeting agenda, this document contained all the information regarding the shoot, such as, when it would take place, location, who was needed, and who needed to bring what. This document was important as it meant that everyone had their role and were aware so, come the day, nothing could be forgotten or someone missed the photo shoot. The document also contained a brief outline of what needed to be photographed so that no significant images could be missed.

To see the Production meeting agenda for the Photo shoot Click the image below.

musicvid2

Digi-Pack Digital Mock-Up

Using our hand drawn mock ups of our digi-pack and Photoshop we preceded to create digital mock ups of each image using images found on the web. Upon doing this we printed the designs and placed them within a CD case in order to review the designs ourselves and to receive feedback on what we had created so that our final digi-pack design could be the best which we could achieve.

To see the digital mock ups and the CD case click the images below.Digital Mock UpDigital Mock Up Inlay


Digital Mock Up Inlay2

Digital Mock Up back


IMG_1422 IMG_1423


Once we had created our digital mock ups and IMG_1424
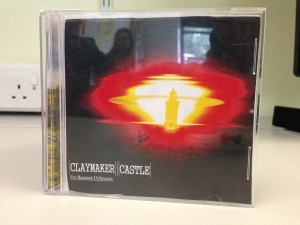
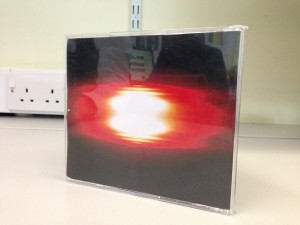
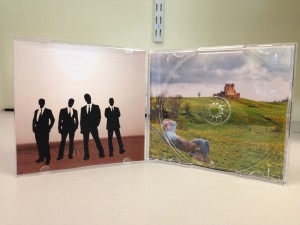
placed them in the CD case we reviewed the product as a group, however we were no pleased with the results of the digital mock ups, we felt that the digi-pack we had created neither fit into the genre we had researched, nor had it portrayed the style of the band the way in which we wished it to.

We presented our design to a creative design  teacher who agreed that the digi-pack which we had created did not fit the genre that we were looking to fit into. He believed that the digi-pack that we had created would fit a genre of heavier music. A number of students that we presented our digi-pack to also agreed with what the teacher said about genre and from a feedback sheet filled by students we also came to learn that the fonts in which we had used also did not fit with what we were trying to achieve.

To see the feedback watch the video below.


From the feedback there are targets we have agreed upon as a group:

  1. Rethink the design for each panel
  2. Change the font used for the digi-pack
  3. Follow connotations of the genre more eg. Band on the front of the Digi-pack

Digi-Pack Planning

Before we could go out and perform our photo-shoot for our digi- pack we had to first have a clear idea of what type of shots we wanted for our digi-pack, what type of framing for the images and what is within the shot and where within the digi-pack is it going to be placed.

As a group we discussed ideas which we had and then proceed to draw up our ideas for our digi-pack. We took what we learned from the moodboard and drew our ideas. These designs were for the front, back and two inlays.

To see the mock ups for our Digi-pack click the images below.

digipack1 digipack4 digipack2 digipack3


Our ideas for the digi-pack were that the front cover was going to be chaotic whilst the inside would fit the genre by having an image of the band. Within the music video the band juxtapose their surroundings so we wanted to extend this into the digi-pack, so our idea for the other inlay was to have the singer, in his nice suit, in a random and alien location for someone that has the look he does. We planned to use a similar location to where we filmed our performance for the music video.

Since the main singer is different with what he is wearing compared to the band we also decided to have him separated from the other members of the band, so we decide to have the main singer located on the front of the album by himself and then have the rest of the band on the back of the album next to the song list.

Next we needed to create a digital mock up of our digi-pack which we could create a printout of and place within a CD Case in order to see whether we like the digi-pack and also get feedback in order to make the digi-pack as best as we possibly can and improve upon our design.

Digi-Pack Moodboard

Next, in order to create a digi-pack for our artist and song to feature on we needed to first research other digi-packs with the genre in which our chose artist is within, American Rock. We created a moodboard with a collection of images of digi-packs from albums within the American Rock genre.

We did this task in order to gain a better understanding of the typical images and framing used within american rock digi-packs. By creating a moodboard we can not only study individual digi-packs but we can analyze them against each other so that we are able to create a digi-pack that fits the genre.

To see the moodboard of american rock digi-packs click the image below.AmericanRockMoodboard-1udwihi


By performing this task we have come up with some reoccurring features within the genre such as the band members tend to make and appearance within the digi-pack, mostly on the front, however some examples have the band appear on the inside or even the back of the digi-pack. Coming from this task we as a group have ideas which we will use during the mock up of our digi-pack.

Risk Assessment – Narrative

Before we are able to film our narrative we must first be sure that what we are doing is done in the safest environment possible. To make sure of this we had to fill out a risk assessment sheet, on this sheet we stated all the dangers and said whether they can be dealt with and what precautions needed to be take. Once the document was complete it was signed by us, a member of staff and our parents.

To See The Risk Assessment Click The Image Below.

Riskassessmentsheet-Narrative

Production Meeting Agenda – Narrative

The final preparation before we filmed our music video narrative was to create our production meeting agenda, this document contained all the information regarding the shoot, such as, when it would take place, location, who was needed, and who needed to bring what. This document was important as it meant that everyone had their role and were aware so, come the day, nothing could be forgotten or someone missed the filming. The document also contained a brief outline of what needed to be filmed so that no significant moments could be missed.

To see the Production meeting agenda for narrative Click the image below.PMAMusicVideo1

Narrative Storyboard

We as a group had a rough idea of what the narrative was going to be for our music video, however we would not be able to film the narrative without having a clear idea of what we were going to film on the day of our narrative filming. What we did was sit down together and discuss our ideas and shot ideas.

We then drew out our ideas as a storyboard, each picture would be a key moment within the narrative, and beneath this picture would be a description of the scene. The pictures where drawn in order of when they will appear during the music video and what angle they could potentially be filmed from.

To see our Narrative Storyboard Click the Image Below.

storyboard narrative


From Making this storyboard we have a clear idea of what shots we will film during our narrative filming day and how much we are expected to film. This narrative storyboard will allow us to film what we need efficiently and allow us time to film each scene a number of times, the document may also allow us extra time to experiment with shots or even to shoot angles and scenes we may have not thought of prior to the filming day.