Design Skills 1
Below are some of the skills I have learnt while creating and experimenting with the first edit of the performance section of my music video:
The pulse effect was one of the simplest effects that we were able to put onto our video. We found the frame that we wanted the impact to occur on. On that point we changed the position and scale of the frame in order to create the pulse effect by zooming in. We added 2 points – before and after the intended frame – to make sure that the frame returned to its usual image (not zoomed in). The pulse conveys to the audience the stars distress and the pressure she is trying to push off to be like everyone else, reinforcing the message that the audience should be themselves.
We added the echo effect during some of the dancing passages which successfully fits in with the pop genre. We added the effect onto the chosen clip and then changed its echo time (how fast we wanted the echo to be) and then changed the intensity. The original set of echos lost the video of our star and we couldn’t see the dancing so we changed the number of echos to 1 enabling us to see the movement with successful echos. This successfully fitted into our genre whilst also creating a visually appealing effect for our audience.

The glitch effect was one of the hardest effects that we added because it had lots of steps. We first added an adjustment layer on top of our clip and made a copy of it. Then we added numerous effects: the tint effect, emboss effect and the offset effect. We started work on the bottom adjustment layer. We had to make sure the blend mode was on hard light. On the tint effect we changed the black to red and the white to black. For the emboss effect we changed the direction to 180 degrees and the relief to 5. Then we changed the vertical offset value by a couple of pixels. All of these effects combine to create a VHS look. On the top adjustment layer we enabled the key frames and put the first one at the start of the clip. We then moved the center down and positioned the key frame after the first one. We repeated these steps 3 more times moving the center each time and changing the position of the key frame to help create a bounce effect. Once combined with the beat and shot of our music, this effect was very effective in order to show how the star is breaking down under the pressure from society to be like everybody else – we learnt that a simple effect can portray a much deeper meaning.

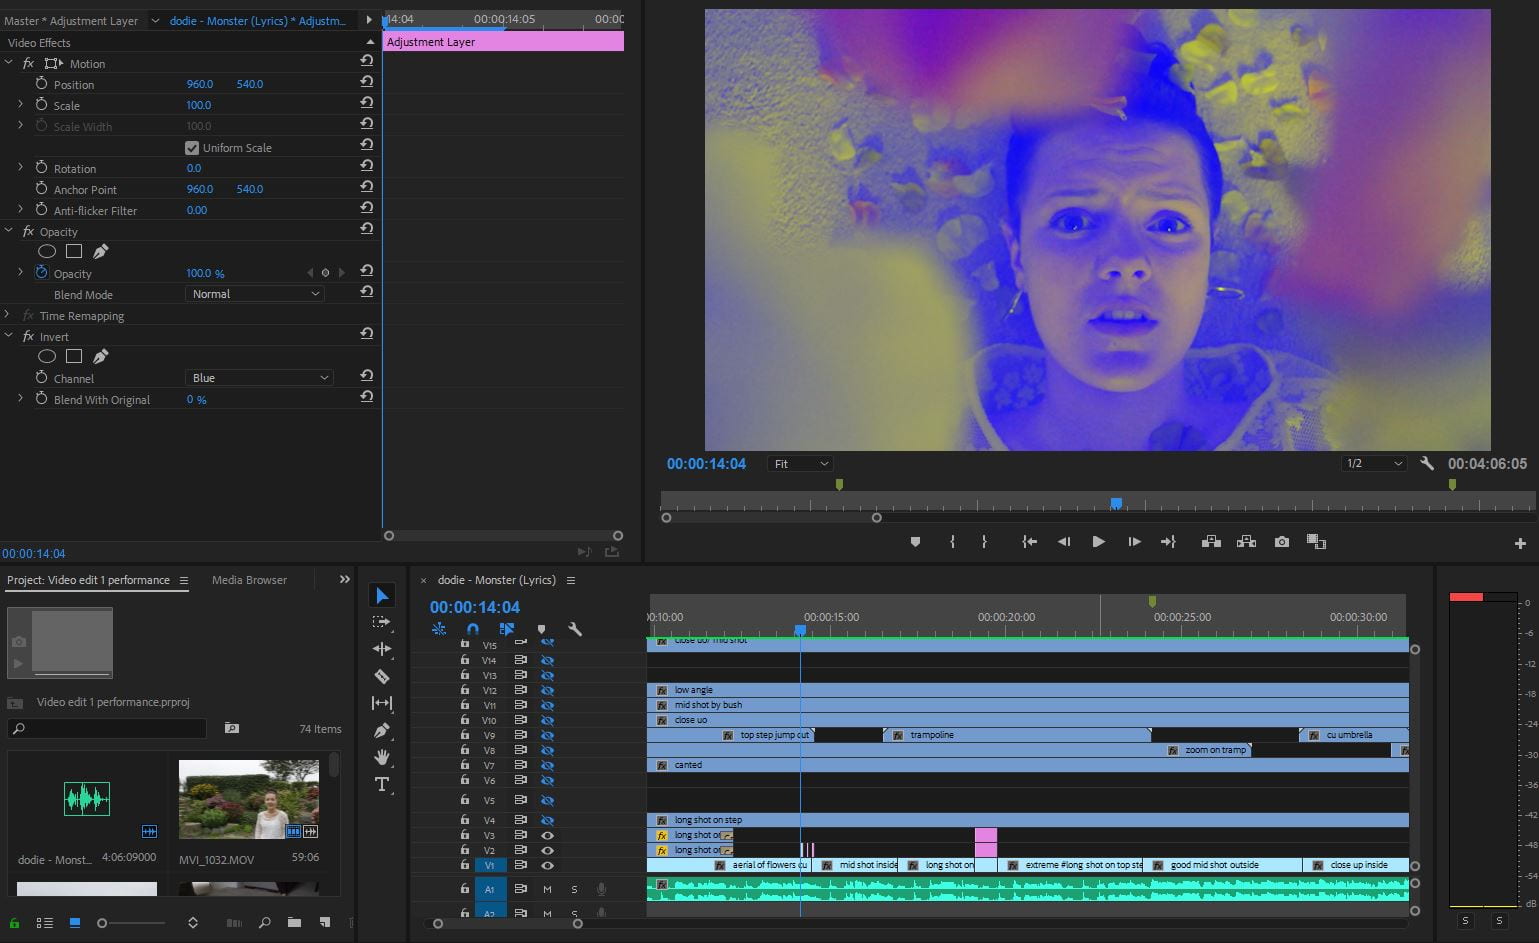
We used the invert filter to act as a strobe between shots. We also used it to illustrate the lyrics: “Being awfully loud for an introvert”. We placed the filter on an adjustment layer and cut it so there was lots of small clips with the inverted filter. The fast pace edit conveys her anxiety and we also this acted as a message that portrayed that the star was fighting to stand out despite being an introvert reinforcing our message for our audience to be unique.
The final effect that we put in our draft was 2 circles of our star dancing which then fade out of the clip. We layered the circle clips onto the original clip and put a circle frame around the area we wanted to use. We then reduced the size of the circles so that they didn’t distract from the main image. Following this we changed the position of the circles so they also didn’t cover the stars face. We also added a soft blend onto the outer edges of the circles so they didn’t stand out too much to keep the blurred ambience that is created by the flowers around the frame. This helped us to connote to our audience that our star is confused about who she wants to be through the use of the high angle shot combined with the circles acting as her inner thoughts. This also fits in with the lyrics of being an “introvert” highlighting that she wants to change her personality to stand out from the crowd.
