
We used curves to have complete control over our contrast, the curves can be manipulated into giving you complete customization over your contrast. You can use the white curve or any of the three RGB curves but we only used the white contrast curve as we did ours entirely in black and white. The curves give much more control over the contrast slider we originally used. The control of colour is very important to our work, as it plays a big part in giving across our gangster/anti-authority message.
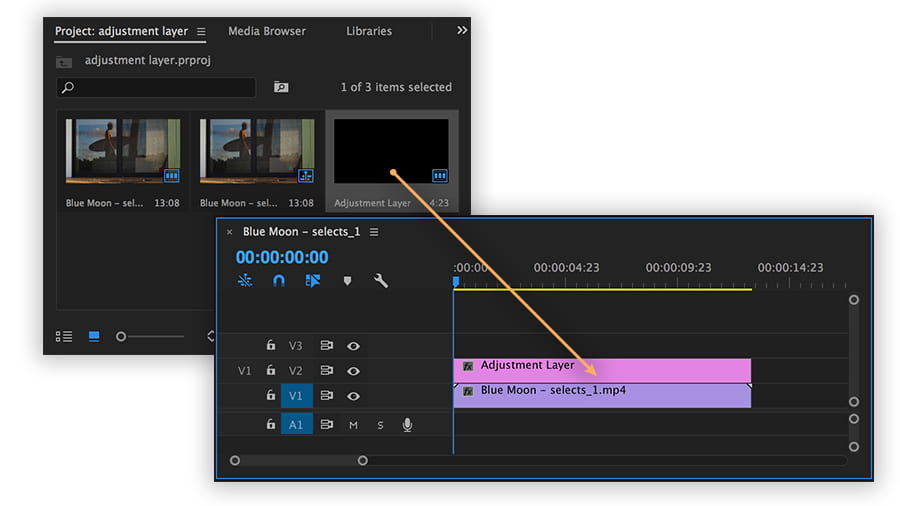
These are adjustment layers, they can be used to apply effects to multiple cuts at once. How they work is that you apply the affect to the adjustment layer instead of the clip, then you can put the layer on your timeline and stretch it as far as you’d like to. Therefore the effects will apply to every clip that they’re stretched to. This plays a part with the contrast curve that I previously talked about, as we could use the curve on the adjustment layer to find the perfect contrast we wanted then apply it to the entire video at once. This saved us many hours of work and was definitely the biggest timesaver throughout this entire project.
Leave a comment