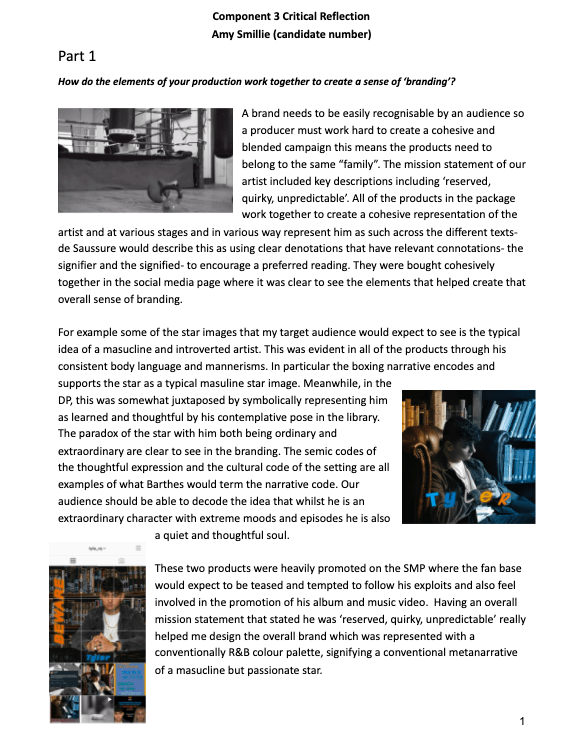
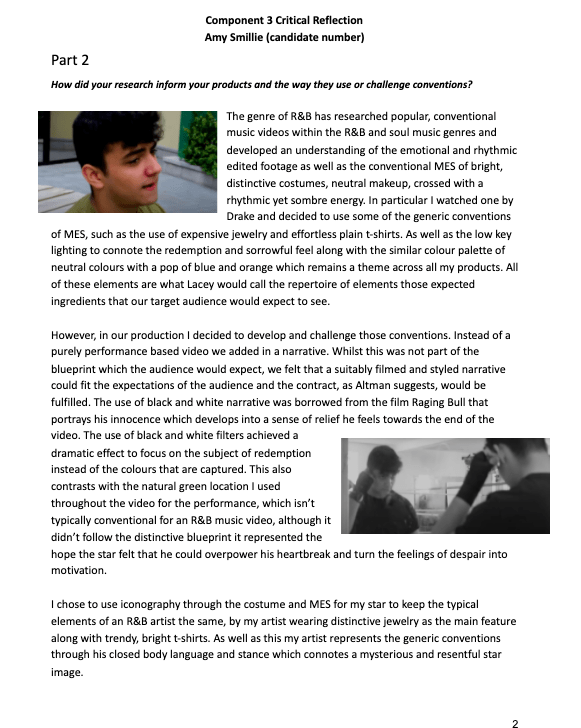

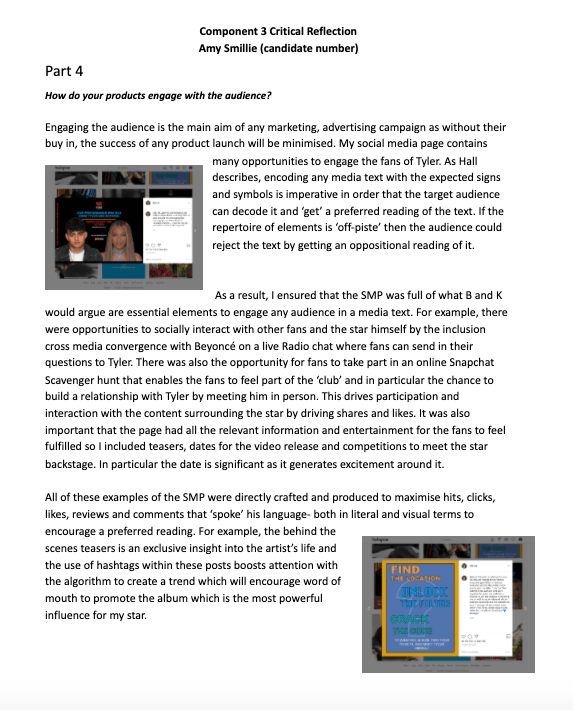
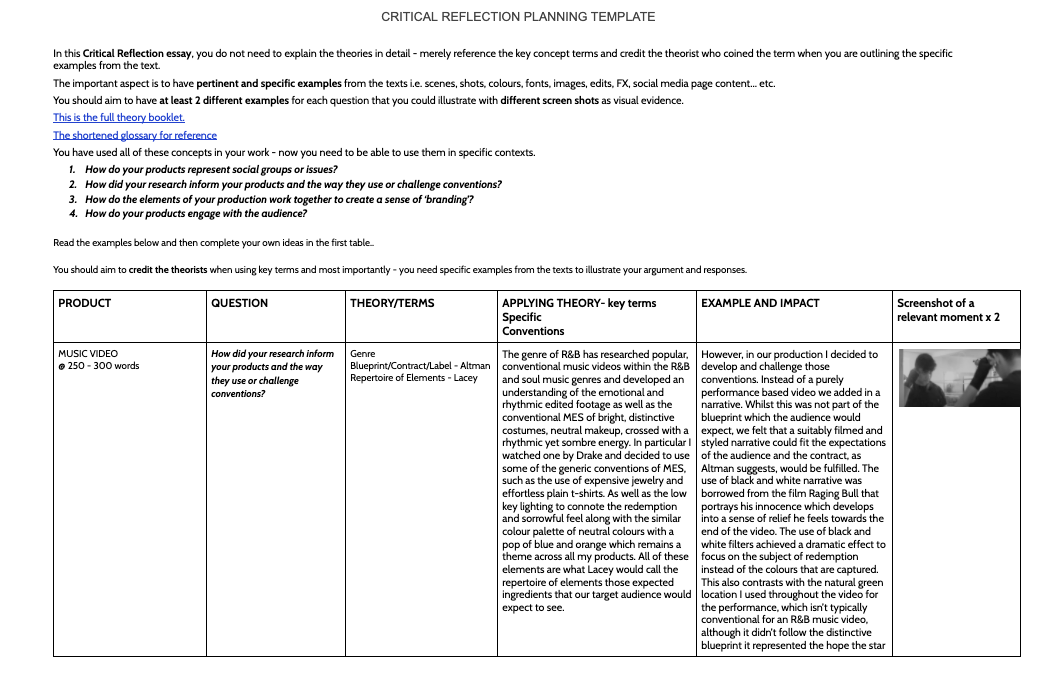
Category Archives: Creative Critical Reflection 3
Critical Reflection Prep
Design Skills 2
From using Premier Pro in the production of our music video it has enabled us to learn various different techniques in order to make our final draft as successful as possible.
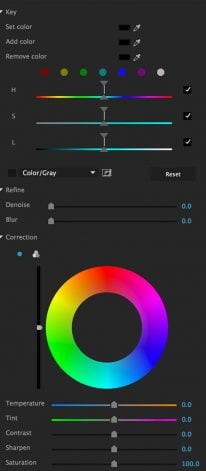
We used the curve tool frequently to correct basic colour errors within a lot of our shots. We struggled with some shots being too dark and some being over exposed which is something we didn’t want portrayed in our music video. It however also came in useful to brighten the mise-en-scene of our performers orange t-shirt and we managed to successfully extenuate the colour for the uplifting lyrics towards the end of the song. This allowed us to focus on the correct lighting we wanted as our aim was for some shots to be darker than others to portray his feelings throughout the video and the heartbroken emotion he feels which we wanted to display through possible darkness.

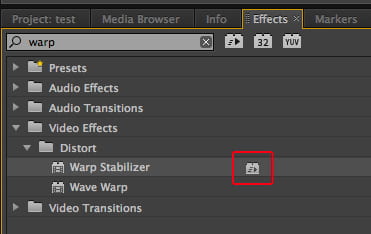
We learnt how to use warp stabilizer to fix our issue on some shots being too shaky which could only be fixed during production. In particularly we used this tool for our close up of the ring which was essential for our video as it was the main symbol for our narrative. The warp stabilizer tool allowed us to quickly stabilize this shaky footage without having to jump to another application or refilm the shot which wouldn’t of been ideal. It enabled us to improve the quality of the video as a whole as we could perfect all our footage.
We used adjustment layers to experiment with various filters that may work successfully to portray the star image and fit with the narrative of our music video. We found that adjustment layers are a great way of adding effects and color grading to large parts of our sequence. However, they become even handier when we wanted to remove effects that we were experimenting with. Since the adjustment layer is a clip on its own, it can be moved, cut, turned off or removed altogether in just a few clicks. The adjustment layers allowed our video to flow and added a sense of continuity to our music video

Overtime, we have used and learnt how to execute many different techniques and effects. Utilizing these skills has been benefiting us positively as we are creating a successful video out of it. We’ve learnt how to use curves to colour correct our clips, use warp stabilizer to quickly stabilize the shaky footage we took, and add adjustment layers to experiment with different filters and effects in multiple areas of our video. These techniques have impacted by allowing us to convey our narrative as well as keeping our audience engaged.
Design Skills 1
From our first draft of our music video we successfully filmed clear and effective shots in multiple different locations and created a peformance video from these shots. We used various equipment to film these shots including a tripod, shoulder mount and dolly, which helped us to film a wide range of shots such as tracking shots, close ups and pans. The equipment allowed our shots to remain still and steady as well as clear and in focus.
During our editing stages we have used Adobe Premier Pro to put our music video together. We have used various techniques and effects to create our star image correctly. Premier Pro has been very useful in adding small details and helping to portray the theme of our music video. It allowed us to zoom in on our shots and edit the lip syncing to perfection, which is a skill that is essential for the production of our music video.
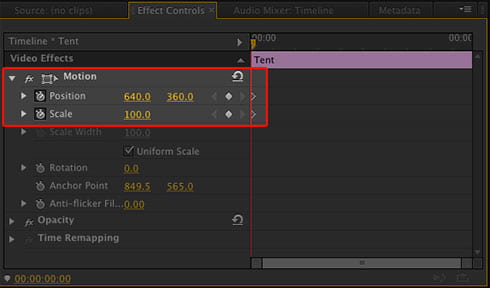
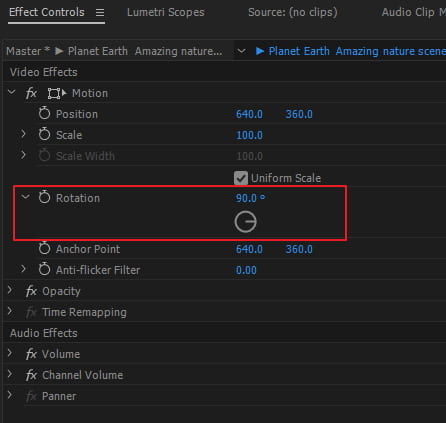
To change the position and scale of our shots we used the tools below. This also helped us to keyframe some shots to add some additional movement to keep the video engaging for the audience. Keyframes are points where the start and end of an animation takes place. Keyframes can be used for virtually any attribute in Premiere Pro; zooms, position, audio levels, color filters etc. But we used keyframes for the zoom and position parameters.
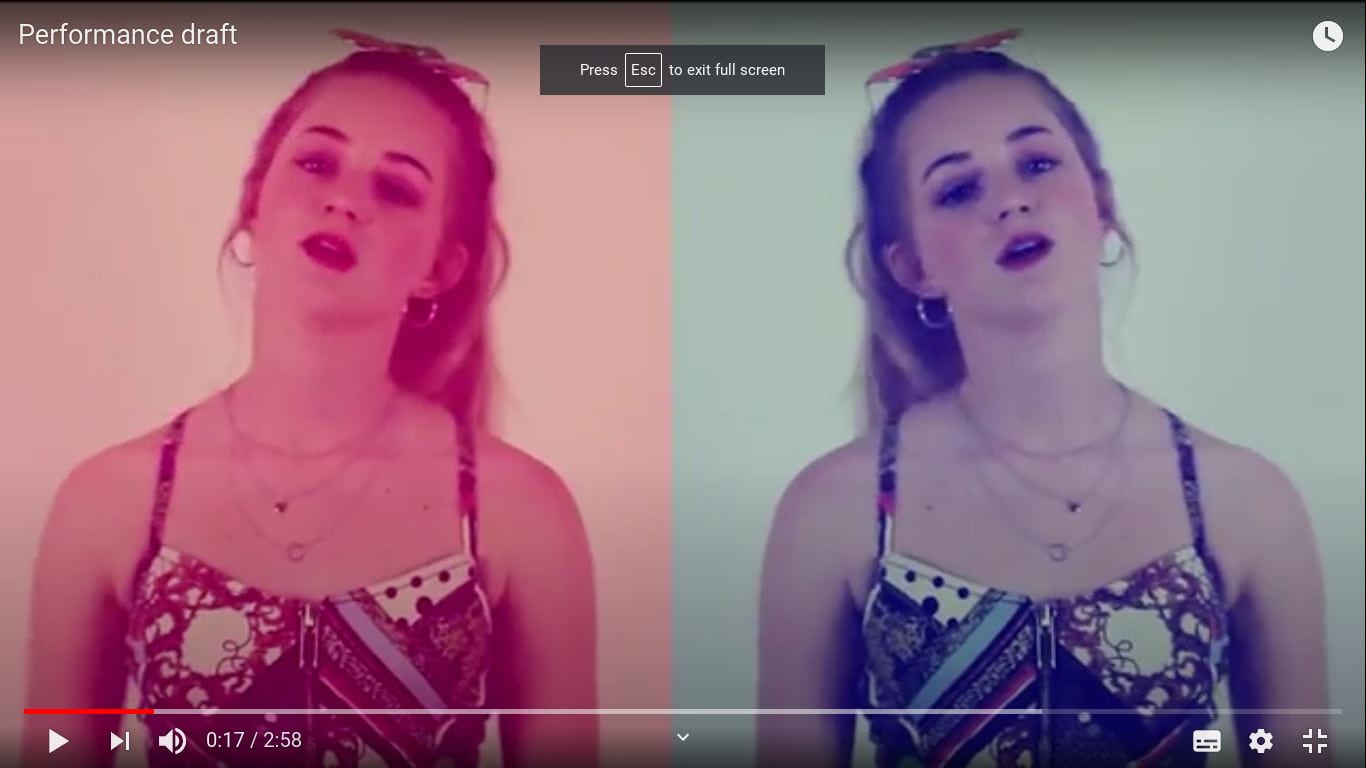
We used basic colour correction frequently to experiment using multiple colours to not only engage the audience but to portray our star image as she is a vibrant and bright individual which we want to successfully portray. We also used this to correct some shots which were slightly over exposed or when we wanted to extenuate some of the bright colours shown in the shots. We are using this editing technique to encode a the particular set of ideologies for our star, which include showing her as whimsical, flamboyant that creates more entertainment for the audience.
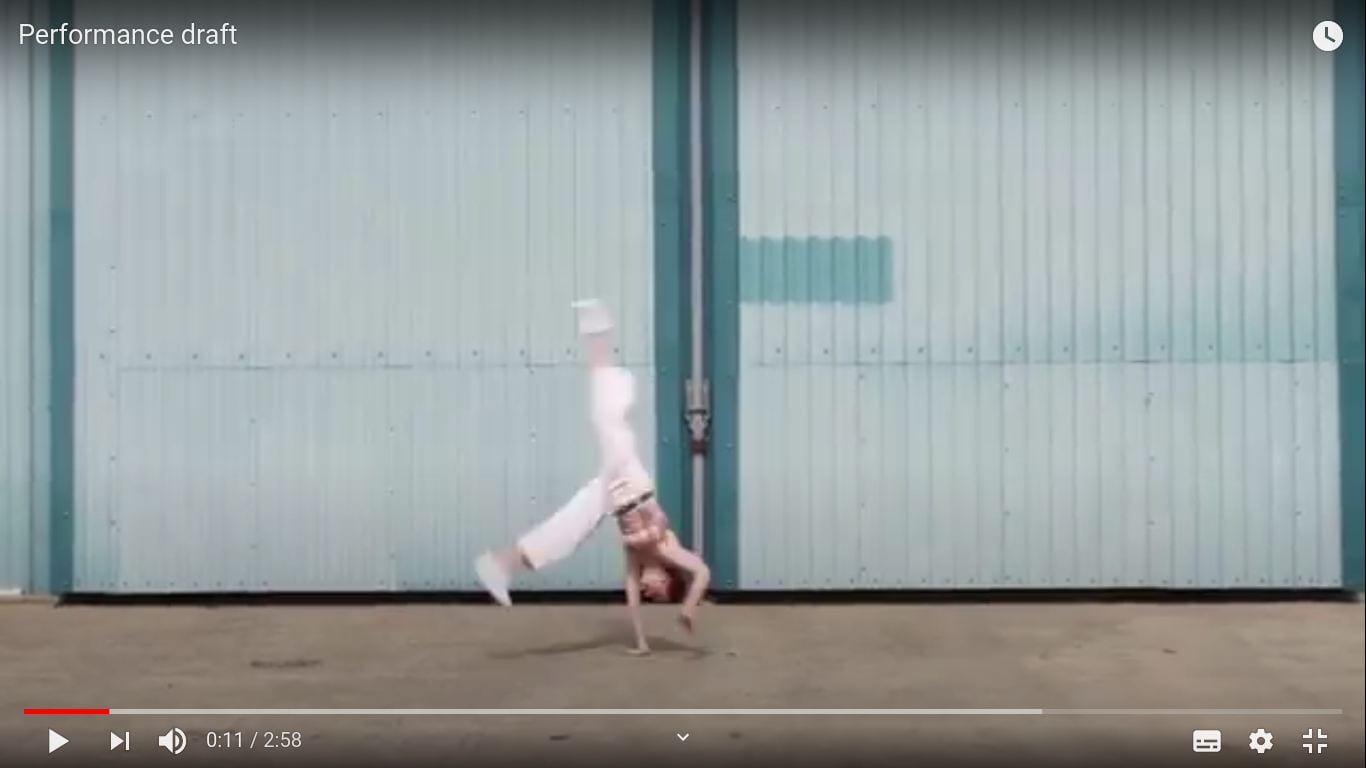
Additionally, when filming we had the idea to reverse and rotate some shots to work with the fast pace of the music and to potray the bubbly energy from the star. One shot that worked particularly well for this idea was our cartwheel clip which we duplicated to created the sense of the star going back on herself. This movement displayed the youthful and active personality from the juvenile star even when she is not lip syncing.
For inspiration for possible effects we may use in our music video we decided to do some research by watching videos. Here’s a few we decided to look at:
Overall, these videos allowed us to think of possible effects we will want to add in the future of our production of our music video. As well as the basic skills and techniques we have discovered has allowed us to successfully create our first rough draft of our music video.