Draft of Contents Page

What is a contents page? 

Magazine content pages indicate page numbers where each part/important feature articles start. The contents usually includes the titles of the pages and a description of its content. Contents pages can also include editor’s letters.

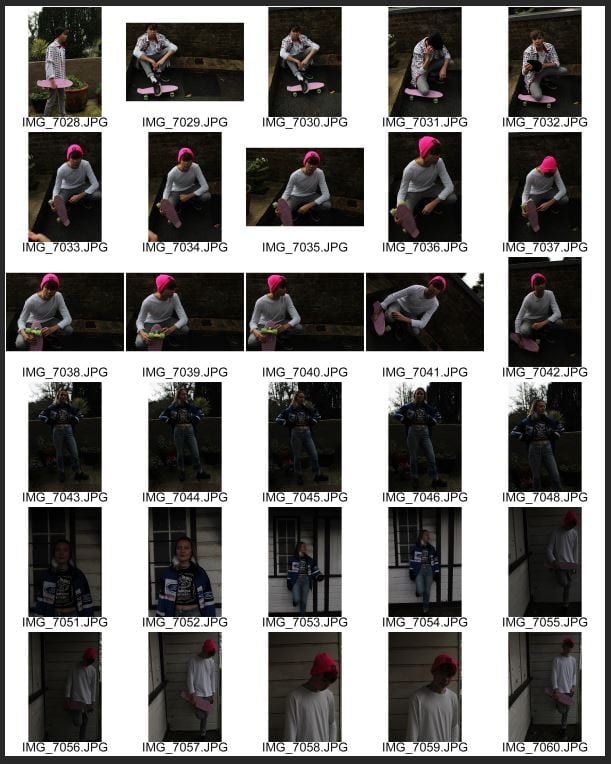
I was really struggling for ideas on how I wanted my contents page to look, so I drew out a draft on paper, which is shown here:

I was going to find a transparent picture of tape, which is what I attempted to draw in the image above, but I couldn’t find one that looked good so I put the images in a white frame instead.

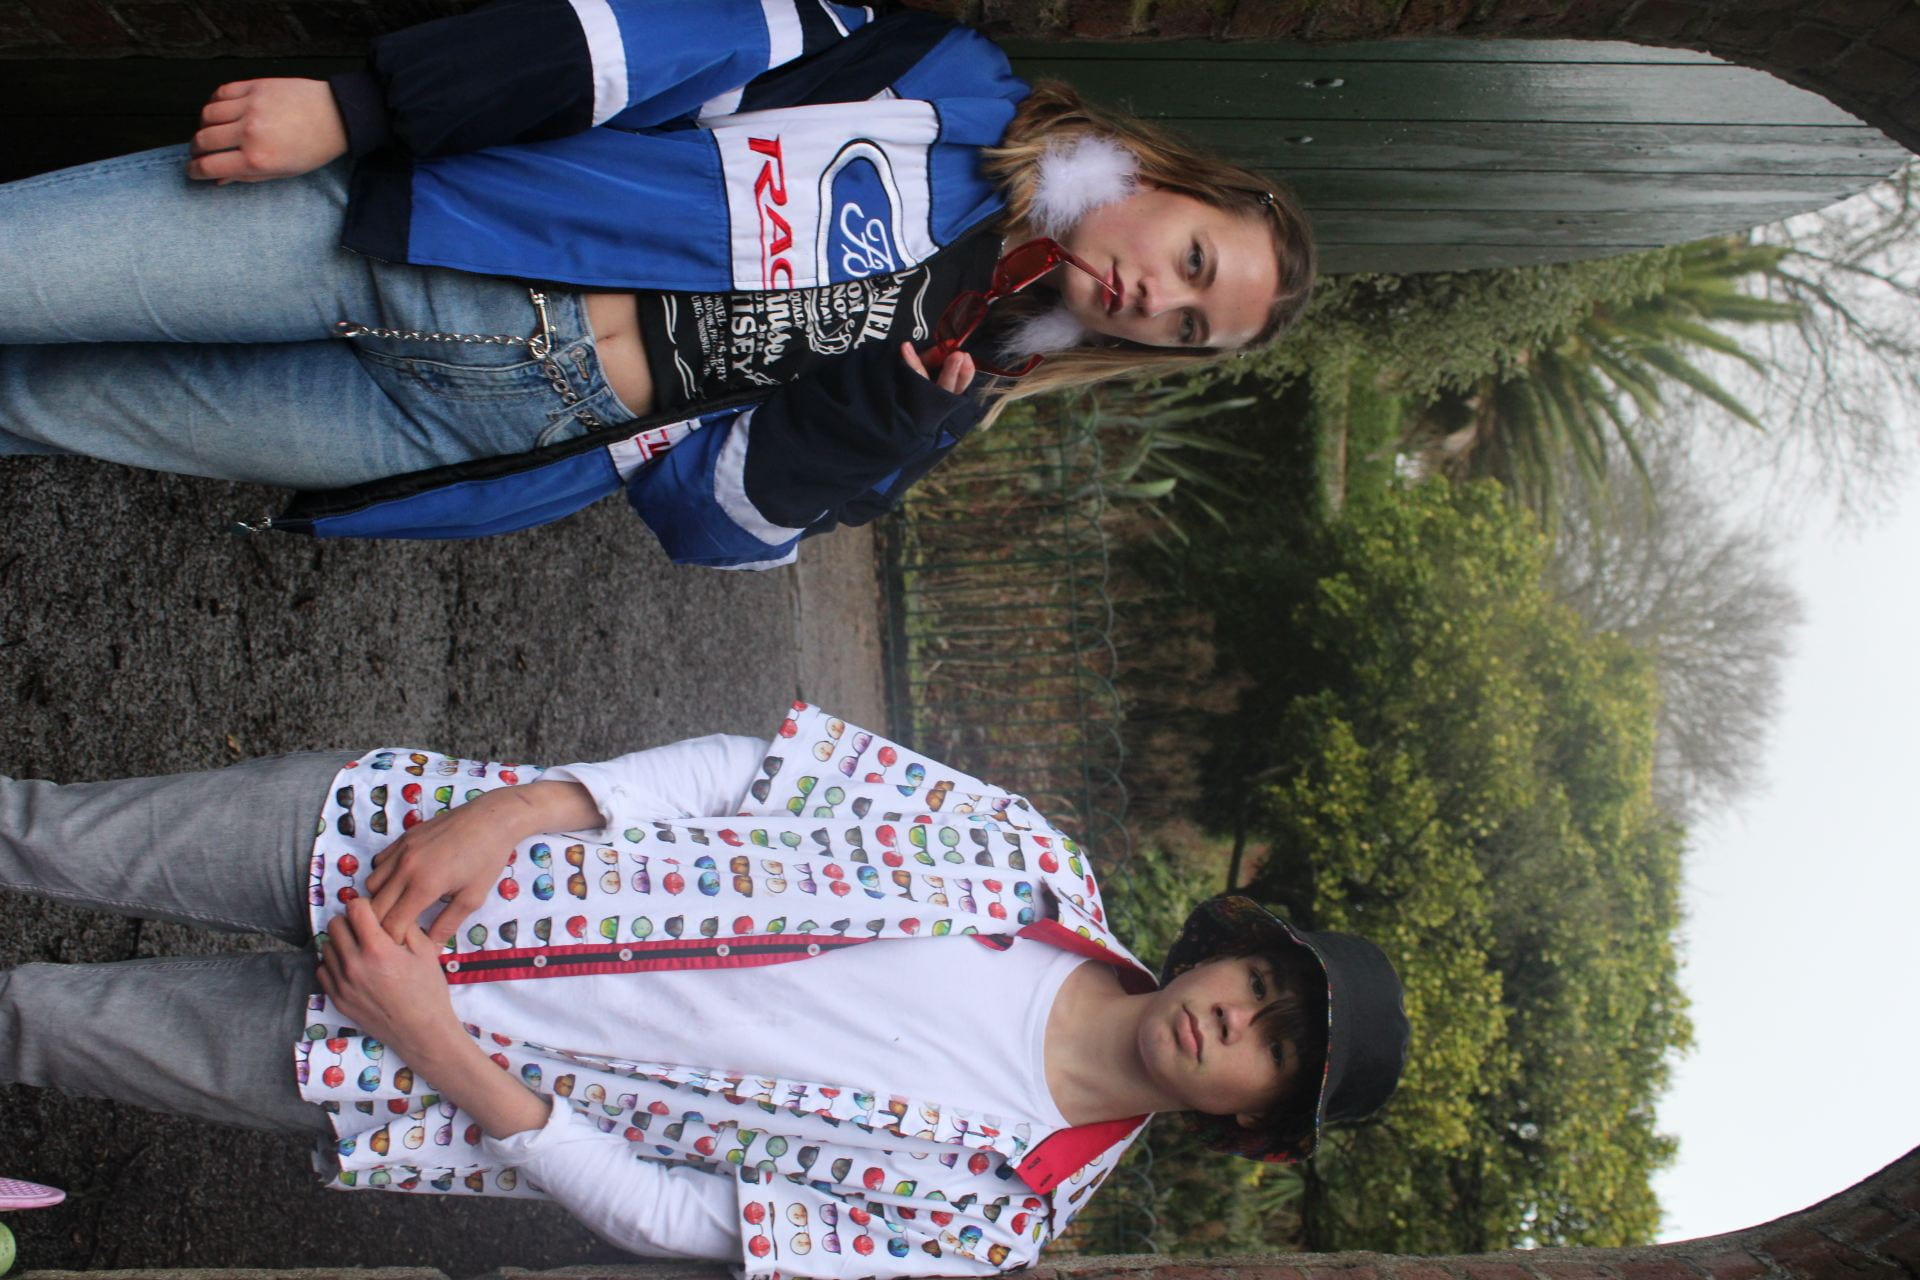
Here is the first draft of my contents page.

How my contents page developed:

This is my first draft of my contents page but I have done so much editing of it I am really happy with the outcome. First I chose the colour for the background of my contents page which was a tough decision due to the amount of different colours i’ve used across my front cover and also my double page spread; but eventually I chose the colour of my masthead. Next I inserted all the images but I didn’t like how they overlapped at first so I put white boxes behind them so they look as though they are in a frame. Because the images took up the whole of the right side of the page, It meant the actual word ‘contents’ had to go downwards which I now really like.

What I am going to change for draft 2:

  • Make the contents of each page (black writing) a bit smaller.
  • Move small black writing closer together
  • Put the age numbers in a box to make them stand out
  • Add another page number or two to fill the space
  • Change the actual page number of the contents page from 7 to 3.

A New Improved DPS

I have taken my double page spread feedback on board, and made some adjustments in order to produce draft 2 of my double page spread. Here is a jpeg linked to a pdf of my new improved spread.

What I changed:

  • I moved the image to the other side of the spread as it opened up the page more.
  • I rearranged the layout of the words in the pull quote to adjust to the new placement of the image .
  • Removed the steps from the image using the magic wand and eraser tools on photoshop so I had more room to write.
  • Moved the title, stand first and article to the left hand side.
  • Removed the pink highlight over the text as it wasn’t the right colour for my theme, I felt a transparent highlight looked neater especially as I am changing the colours of the questions when I insert my real article.

The impact of the changes I made are that I believe the page flows a lot nicer and reads well, whereas before the text looked sectioned off which made the double page look like 2 separate pages when I wanted it to look like one large page. Also the colour over the text has been changed so my colour scheme is a lot more specific now, is clear and matches my star image.

What will I change for draft 3?

  • I will insert my real article into the columns instead of placeholder, as my article is a Q&A I will make the questions a different colour/bold so they stand out.
  • I will also remove all the drop capitals and only have one at the start of the article instead of at the start of every paragraph.

When I make these changes, I am hoping that the double page starts to come together especially when I insert my article instead of placeholder text, it will become more real. When I remove the drop capitals and insert the questions in a different colour, it will stand out and look like a Q&A as soon as you take a first look at the page which is what I want it to look like, to entice the reader to read.

A New Improved Feature Article

Now I’ve designed my double page spread with the placeholder text, I can now insert my real article. I have edited it lots and now it’s improved; here is my new improved feature article.

What have I changed?

-Changed the last paragraph, removed bits that didn’t necessarily fit such as talking about future family

– Added information about merchandise

– Corrected a lot of spelling mistakes especially ‘Indie-Pop’

-I adjusted my pull quote so the article doesn’t sound so arrogant.


All these corrections will enable my article to flow well when I insert it onto my double page spread. I will also change the colours of my questions on InDesign to match the colour scheme on my DPS, apart from that my article is finished.

Feedback and Reflection on Draft DPS

I asked my classmates for feedback on how my double page spread looked and what could be improved. I haven’t used my true article text in my draft however as I am still finalising it, so for now I have just inserted placeholder text to show how my real text will look. Here is a screenshot of my first draft of my double page spread.

I’ve put all my feedback from my classmate into a table so it is easy to read and clear as to what I can improve/add to make this double page spread better.

Giving myself some of my own feedback, I am going to try and put the image of my model, Fin, on the right hand side of the double page and all the text on the left. As he is holding the crown to the left, I feel this would suit the page better and flow nicely if it is on the other side so for my second draft, I am going to attempt that. Also if the image of Fin stands out more by moving him across the page, it will portray my message of him being powerful and superior even more.

Draft of the double page spread

After lots of trial and error, I have finally completed draft 1 of my double page spread. I am very happy with how this looks however I could definitely improve it. I have decided I really like the fonts and colours used, the stand first and also the small image in the corner as it goes well with the pull quote; so I will keep these the same for when I begin draft 2.

Some conventional features that my double page spread contain are having a stand first beneath the central, bold masthead. Also having drop capitals evens the paragraphs out nicely and makes my article read clearly and smoothly, however in draft 2 I am only going to have 1 drop capital at the beginning of the article, which is also a conventional feature.

Another plan for my draft 2 is to move the main image to the right side of the page and the writing to the left. I feel this will better suit my image as the crown will be hanging over the text. I will also make the pull quote smaller as it is standing out more than the masthead currently and this should not be the case.

I think I will also remove the steps from the image so I have more room for text. Either that or I will edit the edges of the steps to disperse the colour so it looks almost spray painted. This is so it is less ‘blocky’ than just a straight line.

Second shoot contact sheets and evaluation

We went on our day trip out to Candie Gardens and the Priaulx Library to take our pictures of our models, mine being Dalehna and Fin. My genre is Indie Pop so I tried to portray this through their outfits, poses and props. Here I have uploaded every image that I took of my models, and later I will select a few to use within my contents page and mainly my double page spread.

| feel as though I got a few potential shots for my double page spread, especially towards the end of my shoot, I believe my shots got better as the shoot went on as I began to really figure out what looked good.

Here are a couple of images I believe are strong and may make my double page spread as the main image.

Overall, I believe my second shoot went really well and was happy with the outfits, props which meant I liked the majority of my pictures. This shoot was fairly rushed and we had limited use of being able to sit on stairs/benches/the floor because of the weather but I am still pleased with how this turned out. I think that I met the aims of my production meeting agenda as I used all the outfits, props and poses that I planned to use therefore I feel this shoot was well planned and successful.

Draft feature article

Here I have inserted draft 1 of the article which will be found on my double page spread. It is a Q&A style interview so the questions I have asked my Indie pop star Fin, are in bold to make this easy to read and understand. When I put this onto my double page spread I will make the questions a different colour/bold so they stand out and to fit in with my colour scheme, and also to break the text up a bit.

Beneath this document, I have included a voice recording of me reading my article aloud, this is to hear how well my questions and responses flow and so I can pick out errors. This will help me when I make draft 2 as I will know what to change to make it better.

To ensure my article read well and was how I wanted, I recorded myself to check for errors and grammatical mistakes. I had made a few spelling mistakes which I have now corrected. But here is the first draft of my article, read aloud.

Targets from teacher:

-Change pull quote of ‘King of Indie-Pop’ as it sounds very arrogant

-Make sure I have capitals in the right place for the word ‘Indie-Pop’

-Remove bit about family in the future, doesn’t really fit

-Add a link to something coming from the tour eg. merch


These targets will help me develop my article for the second draft because it will flow a lot nicer when I change the capitals, changing some of my choice of words, especially in my pull quote, to make him sound less boastful and more like a genuine man, this will help his reputation within the industry. Finishing the article with a link to merchandise will help to advertise, promote and remind the audience with what they have in store, yet will also lead the reader to take more interest in what else Fin is getting up to, and may even buy his products.

Article idea development

I have been developing my article in this planning document, breaking my article down into sections so it is easier to construct. Below is my article idea development stating everything I will include in my Q&A style article. I am targeting my magazine to the fans of on the rise Indie pop artists, such as my star, Fin Price. Here is my article idea development which I will soon turn into a full written article;

This planning document has been really helpful as it has helped me structure my real article very well. It has prepared me for when I write the real article as I got off on the right foot by including all the questions I will ask in the interview, in this planning document.

Production meeting agenda for 2nd photoshoot & risk assessment

For my shoot on Wednesday, I have to plan my shoot locations, props, outfits, hair and makeup etc. Here I have my production meeting agenda listing everything I will bring and use for my models to help me prepare for my shoot.

Within my production meeting agenda, I have included images with some poses that I like too along with props, to give me a sense of what my models will look like when in their outfits and whilst posing.

Then I completed a risk assessment, listing where I will take my models for my shoot, who I will be with throughout the day and how to stay safe when crossing roads/ with my skateboard prop. Above I have inserted my risk assessment to note the possible dangers I may face.


Language Analysis

This week I am focusing on the double page spread of my magazine. We were given a range of types of articles in which we would have to choose one to analyse. These were our options-

  • Biography
  • Intro to a long read.
  • 10 Tips for Life
  • Q&A
  • New Band
  • Album Reviews
  • Interview

I chose the Q&A style of article for my very own double page spread as I was most interested in this one and I feel it flows nicely between the people as it is demonstrated as a conversation, there is a real sense of connection with the audience in this article.

I analysed a Q&A article to prove I am confident with the layout and template of this style of article, I do like most Q&A layouts/ templates however this one seemed crammed. My DPS will be a lot more spread out with the main image being a lot larger.

Here I have a short presentation demonstrating the features of a successful article to prove I know what to include in my article when I begin making it.