Task 1 – Enquiry – LANGUAGE ANALYSIS blog post.
Choose one of the double page spread articles below that is similar to the sort of article you wish to write.
Don’t worry if you end up changing your mind later.
- Biography
- Intro to a long read.
- 10 Tips for Life
- Q&A
- New Band
- Album Reviews
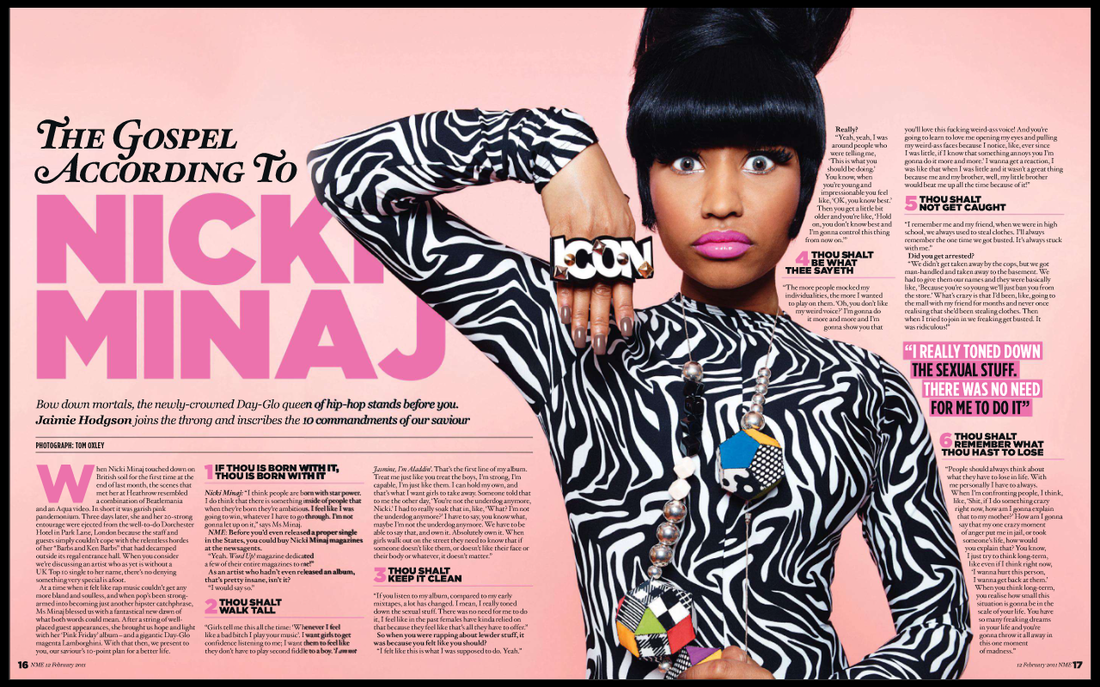
- Interview
Use this document to help you unpick the article and explore how the journalist is using words to create a tone, an impact and communicate their ideas.
You analysis should be between 350-400 words and should be typed into your blog along with a link to the article you’re discussing.
Task 2 – ARTICLE IDEA DEVELOPMENT blog post.
Idea Development
Develop an idea for an article and think about your approach.
Your article will need to match your photographs, but you still have quite a lot of possible angles (see examples above).
‘A hook’ is a treatment for an article. It usually is part of the pitch that a writer or journalist will make to their editor before they are given permission to spend time writing the article. The hook should include:
- Who are you writing for?
- What is important to your audience?
- What news is currently trending?
- How are you going to start
- Remember you might not write the whole article!
Here is the full article on good hooks for magazine articles. Which includes some good ideas on how to start.
Write a blog post on your plans for the article called ‘Planning the Article’
Preparation for writing the article
Choose one of the following tasks:
- If it’s an interview you should develop a range of questions (and answers), which you can build into your article.
- If it’s a review of an album or a gig, you should develop some details of the event and elements to review
- If it’s a general article about a genre of music (10 Best…) you should do some research into the music and famous artists/albums.
- If it’s a biography piece you need to invent 5-10 interesting life events of your star / band that the audience want to know about.
If your article does not fit into one of these discuss your planning ideas with your teacher.
HERE ARE LINKS TO THREE PREVIOUS STUDENTS WORK – ALL DIFFERENT STYLES:
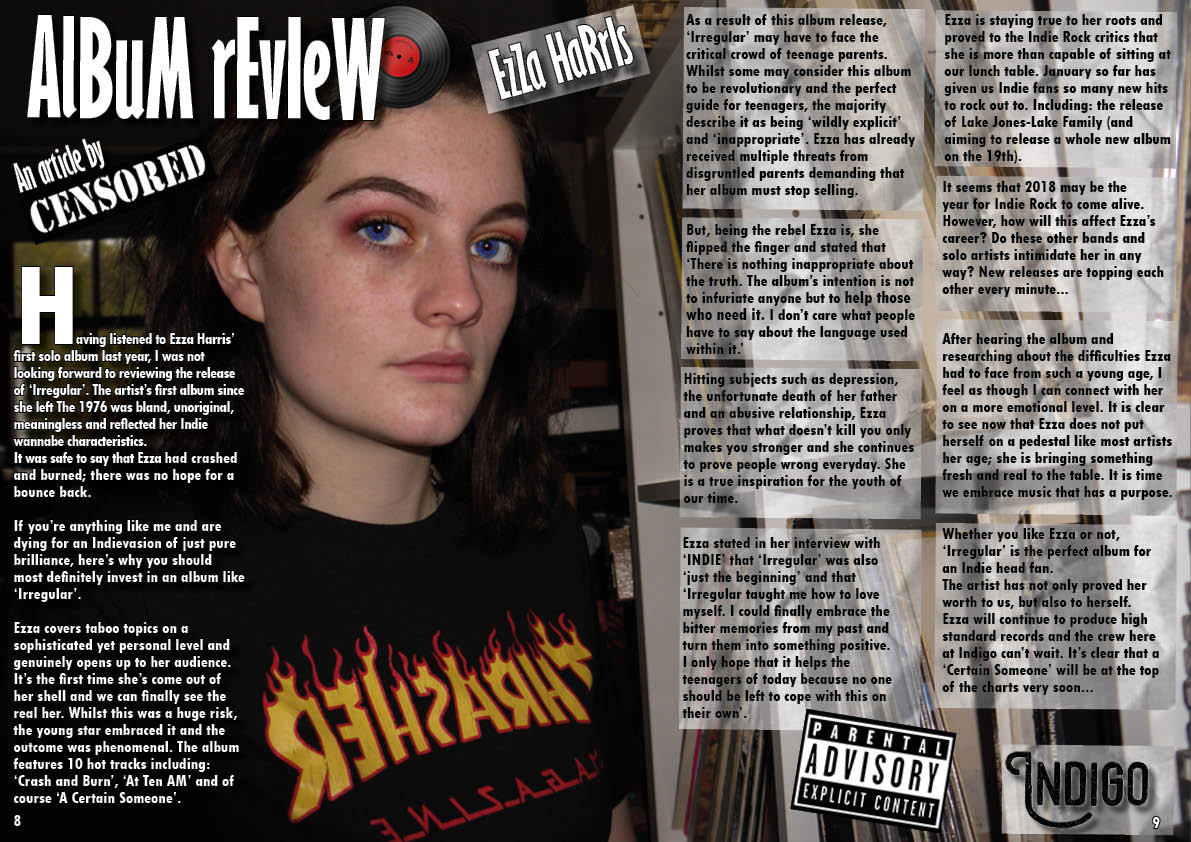
PERSONAL – ALBUM REVIEW WITH QUOTES
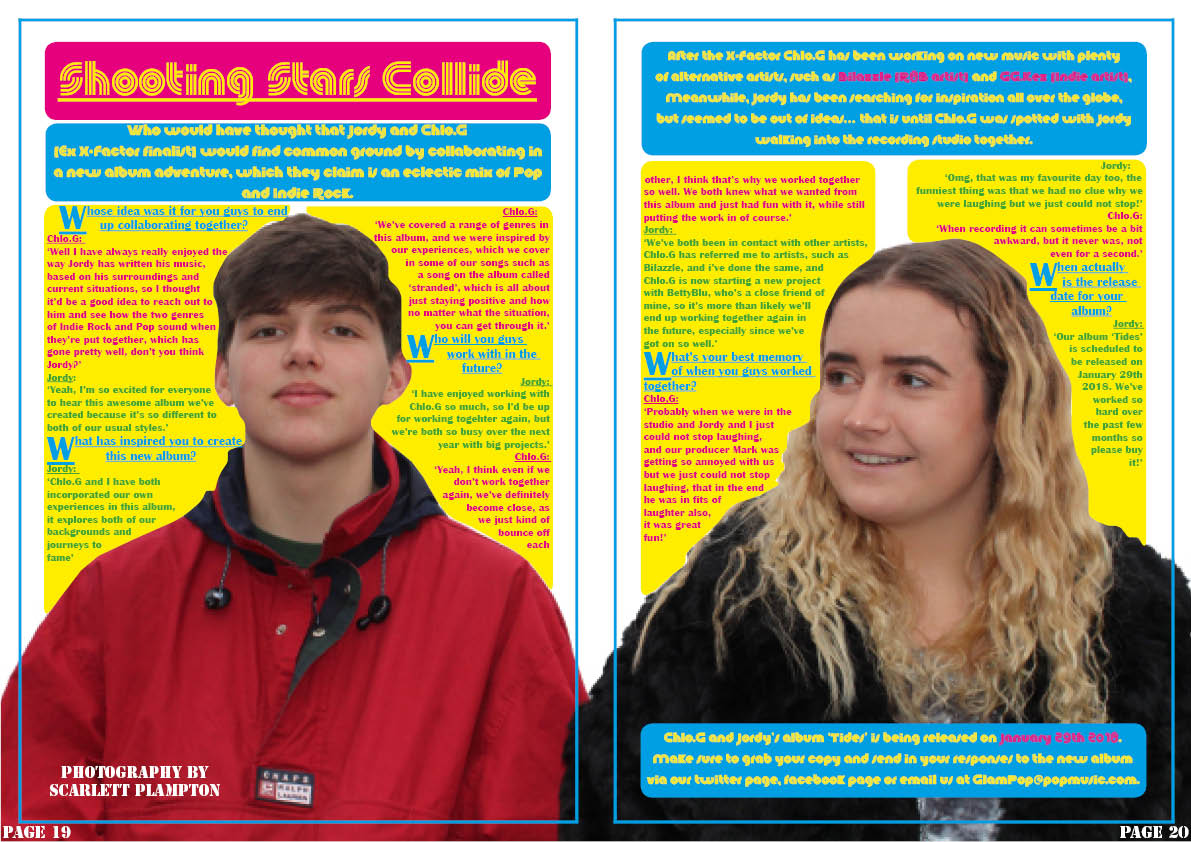
INTERVIEW
Q AND A
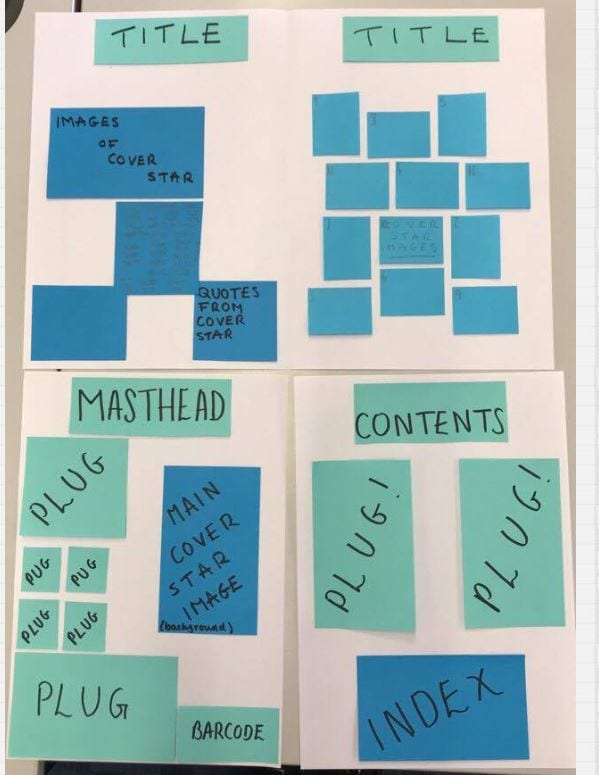
Article Planning
Task 3
Draft
- Write the first draft ready for feedback and redrafting and embed in the blog in its entirety after your teacher has given it a quick scan.
- You can do this on classroom so that your peers can proof it and your teacher can give you some feedback too.


