Self Assessment for the digipak – Draft 1

Now that you have Draft 1 of your digipak – the front and back panes, you must assess how it will be assessed. Is it on the right lines? Does it contain the necessary elements to get a good grade?

Embed your two panes and use the following criteria to assess its appropriateness and skills.  What level do you think you are on?

  • The use of camera and Photoshop to take & manipulate engaging images.
  • The selection of mise-en-scene in the photos and the meaning it communicates.
  • The creative use of DTP to integrate images and text and  use colour / typefaces

Make a google slide and create a similar assessment to the ones in the slideshare.  This will give you a good idea at what level you are currently working at and what you need to do to improve.

Audience interaction with a website – an analysis

Consider the following areas and write script to read whilst flicking through the chosen website as a group.

Consider Blumler and Katz Uses and Gratification:

  • Entertainment
  • Information
  • Personal Identity
  • Social Interaction

AIDA

  • Attraction
  • Interest
  • Desire
  • Call to Action

Professional Examples

TASK

Create a Screencastify which explains, discusses and analyses one of the professional websites above.

Your voice over should cover:

  • Navigation of the website
  • The links to social media
  • The content in the website – Uses and Gratification
  • The design of the website in relation to their other media (video and digipack)
  • It should include the appropriate terminology for website conventions and forms and appropriate audience theory.

Here is an example analysis from Mr G. Does he cover everything?

Website – the other minor task

Now that you have your Music Video and your Digipak which features the music video song, you need to design a website to promote the new video, digipak and the performer.

This is how the overall product is described in the CiE specification and below is also what they will be expecting to see in the research, planning, development and evaluation of the package, including the Website.

This website is going to pull all your branding, productions together and work as an online promotion for your performer.

TASK 1

How much do you know already?  Where would this component go on a website?  An interactive, visual game.

TASK 2

First of all though, as with all Media Production – you need to know the ground rules – the basics; those technical terms to describe the media forms and analyse the conventions.

Now that you know the general ‘raison d’etre’ of websites and the basic terminology involved in their design, it is now your turn as an individual and as a group, to complete the following tasks over the next couple of weeks.

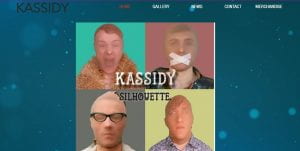
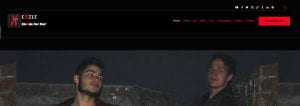
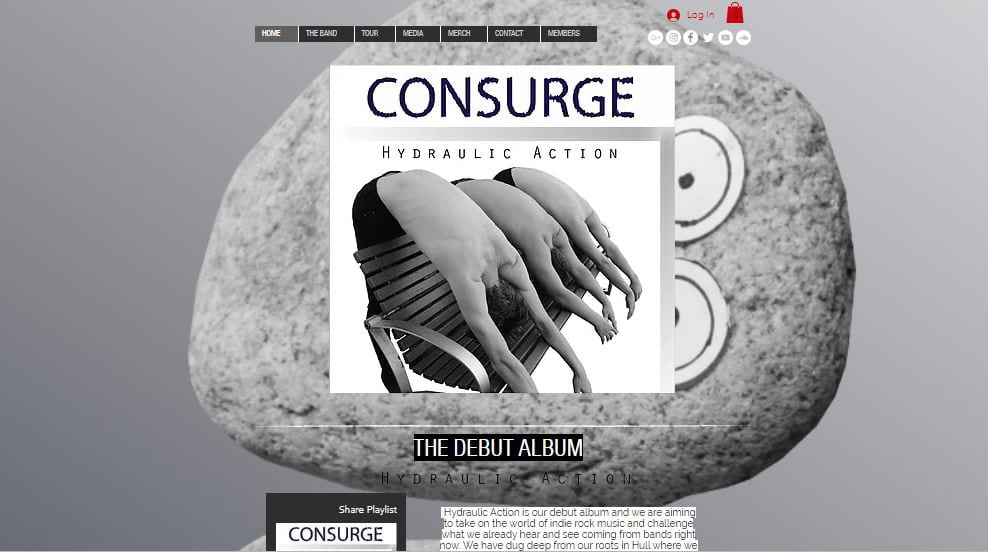
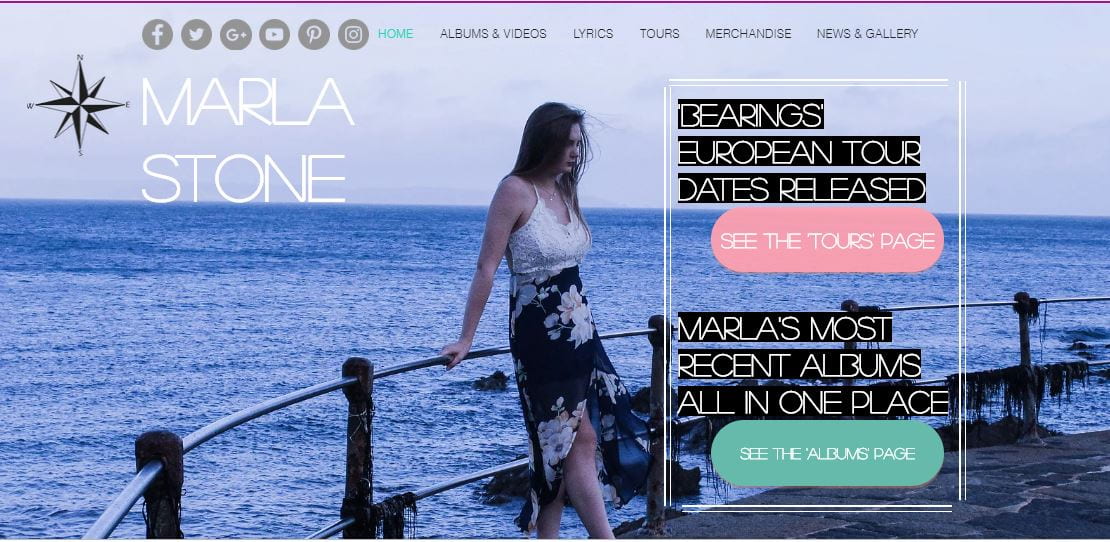
  • Blog Post 1 – individual annotated screen shot of home/landing page of a website for your star in real life (or similar) and annotate for the technical forms and conventions (terminology). 3 x screenshots.
    • Use the glossary and terms from the above presentation.
  • Blog Post 2 – a group Screencastify on a particular music website – describe its use of web page features and analysing it for meaning linked to star image & branding. Use the terminology.  Separate blog post for information.
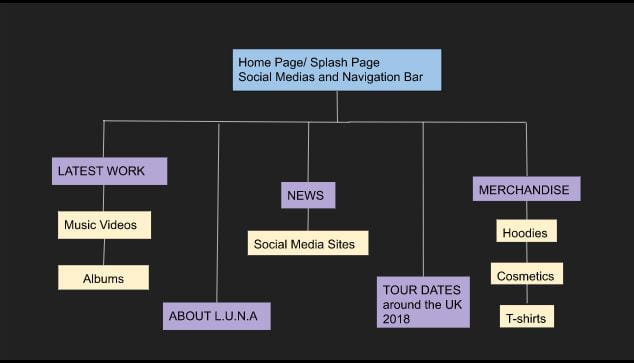
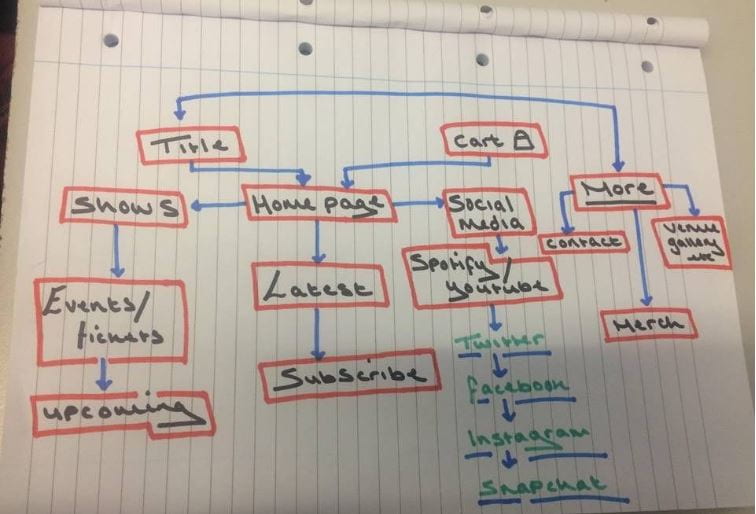
  • Blog Post 3 – a group flow chart showing how your website will work in terms of pages and a discussion about your preferred and chosen platform (Wix, Weebly or Divi). You must all contribute to the design and population of the website so make sure you share the access code to your group. You can work on this from home.

You can then find a free template on Wix, Weebly and get creative.

Share the link so that you can all work on it –  create the scaffolding for the site – design some merchandise, write some news and gossip articles, start including tour dates and populate it with the basics so that once your video and digipak are done you can then focus on including the other media and sorting out fonts/colours/images.

Good luck.

Photoshop + Indesign – just a reminder

photoshop

The application of choice for your digipack photography is Photoshop.

As you know from your Music Magazine, it’s a really complex piece of software but it’s worth investing some time in learning some of the amazing things it can do with images and copy.

Here is a link to a Youtube site, which offers tutorials on how to use Photoshop and may also be helpful in giving you inspiration for the design of your Digipack.

When you are laying out your digipack, you should use a template that would be used by professional printers. This template has clear guides for size of each of the four panes your need to design as well as the spine. Or better still, measure our cases and create your own templates in Indesign so that you can be sure it fits.

It is some time since you used Indesign and Photoshop.

Here is a slideshare with links to some of the basic skills.

You can manipulate your photo in photoshop before exporting and placing into Indesign.

  • The tool bar at the top has a category called FILTER. In here you will find all kinds of presets to change how your photo looks – adding presets to make it look like a pen and ink drawing, mosaic etc.  You can also use the Liquify tool to alter the image – real photoshop territory and make eyes bigger and legs shorter etc.
  • The other tab on the tool bar called IMAGE options to change the colour to black and white, add gradient shadow to the background and change the exposure etc.

Creative Backgrounds for the DP

  • DP Backgrounds – be creative – get out and take shots!

    Click on this link to open a file with all kinds of backgrounds that I took at home last night. As black canvases they are not particularly exciting but take them into photoshop and play with the filters and liquify and you could end up having some really funky backgrounds for your Digipak.

    You have to get some shots in – experiment and look for angles, perspectives, textures and composition of random objects.


Photographic Inspiration

This website has lots of ideas from artists and media makers around the world. It might just offer you some inspiration for your MES – remember simple but meaningful use of MES could make all the difference: some broken plates, antique books, a bright red balloon, tattered armchair, sleek hair do, interesting window frame, bright red lipstick, beaten up car etc.

However, be careful not to over stretch yourself. Look at previous student’s work and see what is likely and possible. You may have to ‘cut your cloth’ (plan one’s aims and activities in line with one’s resources and circumstances) and do something simple and brilliantly as opposed to attempt something spectacular but badly.

Here are some links to some specific pages that could whet your appetite:

Continue reading Photographic Inspiration

DP PMA, RA and Template

This week you should be planning, executing and producing your Digipak.  Make sure your planning is precise and comprehensive. All planning documents should be uploaded to the blog. You will have to organise your group, models and performers. Remember you have fewer lessons this week so you need to work in a focused manner.

Attached to this post are links to shot lists, agendas and digipak templates.

You should also use Adobe Indesign to create your templates. You can choose one from the list.

Use Photoshop to amend, edit and manipulate your photos and Indesign to construct the actual Digipak.

You must also include your contact sheets in the blog and give an overview of which shots you finally choose and why. Make copies of the PMA and RA sheets.

Production Meetings Agenda

Risk Assessment

4 Pane